
RECIPE
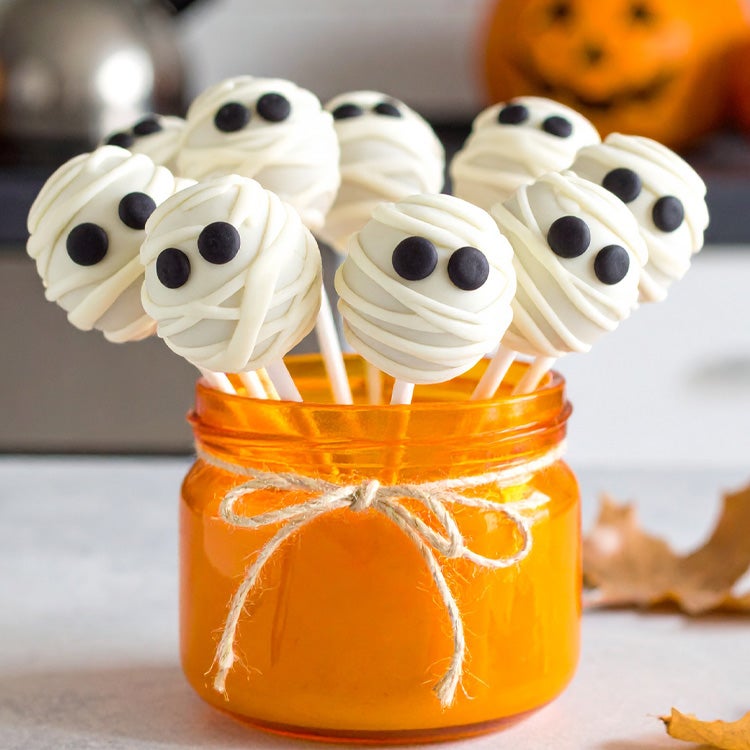
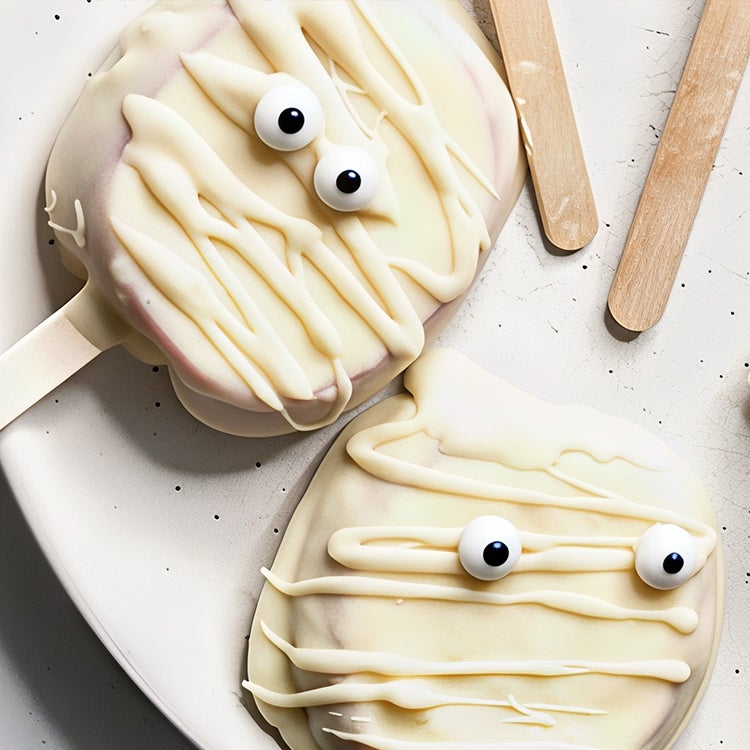
Halloween Cake Pops with Milkybar® White Chocolate
Get spooky, funky and fun with our mummy-themed Halloween cake pops! They’re tasty, easy and wrapped up in creamy Milkybar® magic.
20 November, 2025

Hold onto your coffins because we’re about to get spooky with our Halloween cake pops! That’s right, it’s that time of year, and to celebrate, we’re wrapping vanilla sponge and buttercream balls in smooth Milkybar® mummy style. They look complicated, but this recipe is so easy you can even get the kids to help out. There’s plenty of crumbling, mixing, rolling, dunking and drizzling that clean little fingers can get involved with!
Curious about the tradition of trick-or-treating? Explore its history in our Halloween Trick-or-Treat article. For more recipes, inspiration and tips, sign up to our newsletter.
Why You’ll Love This Recipe
Besides being spooky and tasty, Halloween cake pops are one of the most fun Halloween Baking Recipes to make with the kids. You can do most of the work ahead of time and set up an activity station for the kids to coat the pops. We’ve gone for a Halloween theme this time, but cake pops fit into any occasion. You could coat them in sprinkles, crushed biscuits or even pop a Smarties® on the top. They are your cake pops, so get creative!
How Best to Melt Milkybar® White Chocolate
The two easiest ways to melt chocolate at home are in the microwave or on the stovetop. For the microwave, simply place the chopped Milkybar® into a heatproof bowl and microwave in 30-second bursts. Stir the chocolate in between bursts until it is melted and smooth. This is the quickest way to melt your chocolate.
No microwave? No problem! Simply create a bain-marie on your stovetop. Get a heatproof bowl that fits snugly over a small or medium-sized pot. Add a cup of water to the pot and place the bowl on top. Make sure that the water is not touching the base of the bowl. Add the chopped Milkybar® to the bowl and turn the heat on low. As the water heats, it will warm the bowl and melt the chocolate. Stir until smooth and it’s ready to use. Be careful not to get any water into the melted chocolate or it will seize!
Storage and Make-Ahead Tips
Cake pops are best stored in an airtight container in the fridge for up to five days. Use a flat, wide container so the pops don’t have to rest on top of each other. Cake pops are also a great get-ahead treat, so you’re not scrambling on Halloween. You can even freeze the coated cake pops for up to two months! To defrost, simply leave them in the fridge overnight.
Creative Variations
Halloween cake pops can be as spooky as you like! Use gel food colouring to create your own creepy colour palette. Add a few sprinkles to create hair for your mummies or use black writing icing to draw scary mouths and teeth. Not feeling the mummy vibes? Make pumpkin pops with orange-coloured Milkybar® and a jack-o'-lantern face. You could also customise the inside by adding 1-2 tablespoons cocoa powder to the mixture for a chocolate sponge. Or fold some sprinkles into the crumble cake and buttercream for a sweet surprise in the centre. On the hunt for monsters instead of mummies? Try our Halloween Monster Cookies recipe.
You will need
- 20cm cake tin
- Baking paper
- 15 paper lollipop sticks
- A cardboard box with 15 holes to stand the pops in
For the cake
- 50g buttery baking spread
- 50g caster sugar
- 50g self-raising flour
- 1 large egg
- ½ tsp vanilla extract
For the buttercream
- 40g buttery baking spread
- 80g icing sugar
- 1 tbsp semi-skimmed milk
- ½ tsp vanilla extract
For the coating
- 150g Milkybar®, chopped
- ½ tsp sunflower oil (helps loosen the melted chocolate)
- Edible eyes
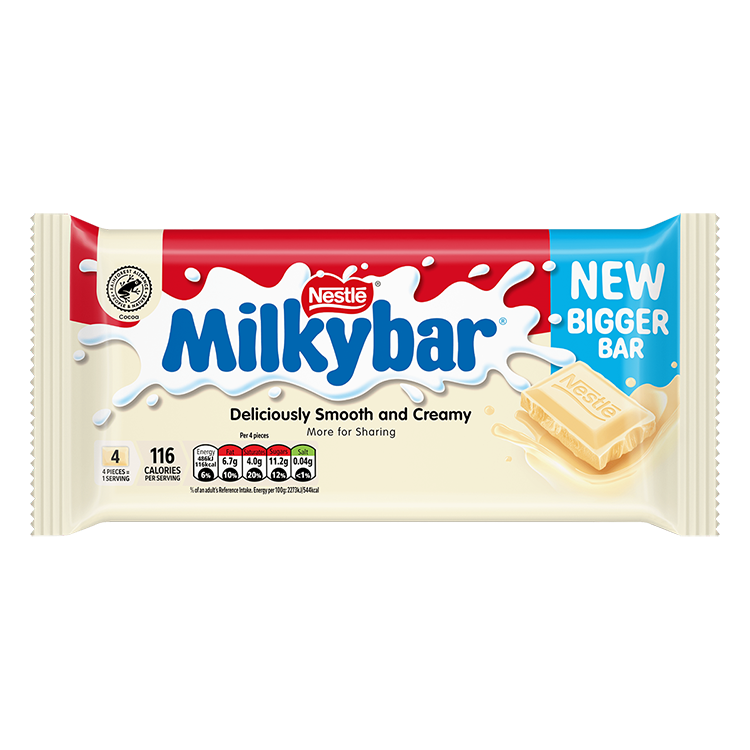
Milkybar Large White Chocolate Bar 150g
Each cake pop typically contains:
of an adult’s Reference Intake (RI)*
Energy per 100g: 1900J/453kcal
Method
For the cake
- Preheat oven to 180°C/160°fan/gas 4. Grease and line the cake tin with baking paper.
- In a large bowl, beat the buttery baking spread and sugar together until light and fluffy. Use an electric whisk if you have one.
- Whisk in the egg, then add the flour and mix well to combine until you have a smooth batter.
- Tip the mixture into the tin and bake for 20 minutes or until a cocktail stick or skewer inserted into the centre comes out clean.
- Cool in the tin for 10 minutes, then pop the cake out onto a wire rack to cool completely before icing.
- While the cake is cooling, mix the buttery baking spread, icing sugar and vanilla until smooth to make the buttercream. Add the milk and mix well to combine.
- Crumble the cooled cake into the buttercream and mix well to combine.
- With clean hands, pinch off pieces of dough and roll them into small balls. For perfect pop sizes, weigh the total amount of dough and divide it by 15.
- Place the rolled balls onto a baking tray and freeze for 30 minutes.
For the coating
- Place the chopped Milkybar® into a microwave-safe jug and heat in 30-second bursts. Stir after each burst until melted and smooth. Mix in the sunflower oil, and your pops are ready to be coated.
- Dip the end of a paper stick into the melted white chocolate and press it about halfway down into the cake ball to secure it on the end of the stick. The white chocolate helps stick the ball in place.
- Once all the pops are secure, dip each pop into the melted Milkybar®, making sure to coat the whole pop. Let the excess drip off and place the pop into your prepared box to dry. Give it two minutes to settle, then stick on the eyes.
- After the pops have set, use a teaspoon and drizzle each pop with your leftover Milkybar® to create the creepy mummy look! Let the pops dry again, and then they are ready for your Halloween trick-or-treat party.
Top Tips
Kids love to help in the kitchen, but it’s not always smooth sailing! Everyone wants to do everything, so it’s best to assign jobs and help each child get them done. It can be as simple as watching the scale until it hits the right number, mixing the flour into the sugar and butter, or rolling cake balls. Melted chocolate is hot and you need to take the reins with anything that involves heat.
As the adult in charge, your job is to herd the excited kittens from job to job. Aprons are always a good idea, and a wet cloth for sticky hands and cleanup is essential. Having said all that, baking with kids is fun, a little chaotic and always worth the memories it creates, so enjoy it!
Questions
The cake mixture can be made and rolled into balls up to two days in advance. Or you can store the finished cake pops in the fridge for up to five days.
There is no need to do any finicky tempering business! The chocolate is just to coat the exterior and acts as the glue to stick on fun things like edible eyes or sprinkles.
Cake pops are fairly straightforward, but it does help to have a box with holes or a piece of Styrofoam to stick the pops into to dry. To get the best result, they need to dry standing up, and the box is your ticket to success.
Finished cake pops can stay in the fridge for up to five days, so take the stress out of the day and make them ahead of time.
A cake pop is a tribute to the famous treat on a stick, the humble lollipop!
Tags
Share The Happiness


Explore Milkybar® Recipes
Deliciously decadent white chocolate magic awaits you and your family in our Milkybar® recipes!