
RECIPE
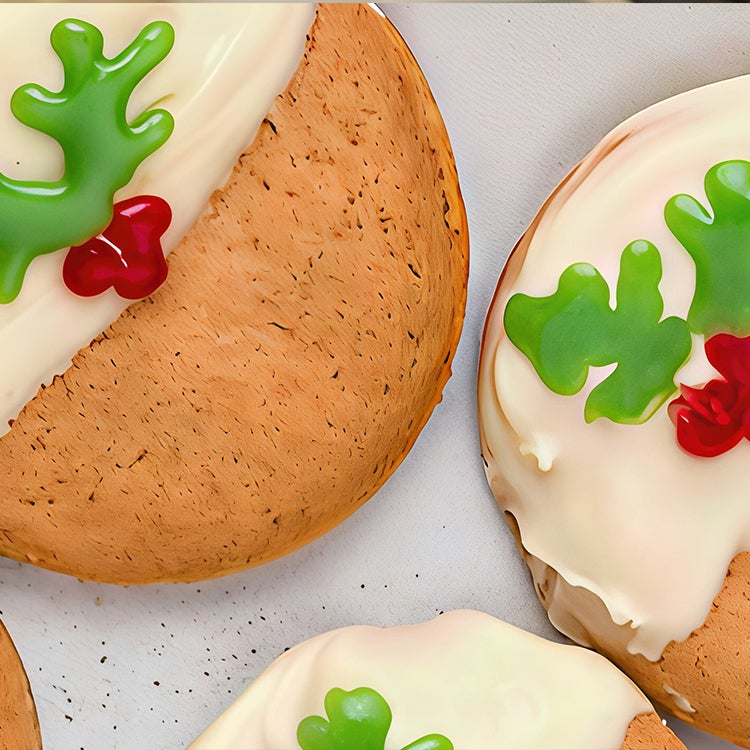
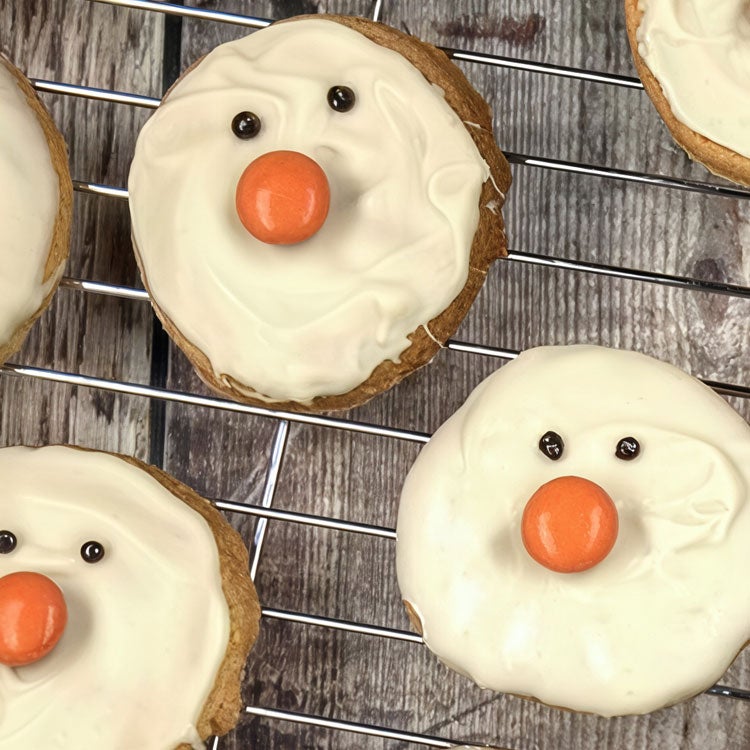
Christmas Cookies Recipe with Milkybar® White Chocolate
Build your own team of reindeer to hang on the tree this Christmas!
22 September, 2025

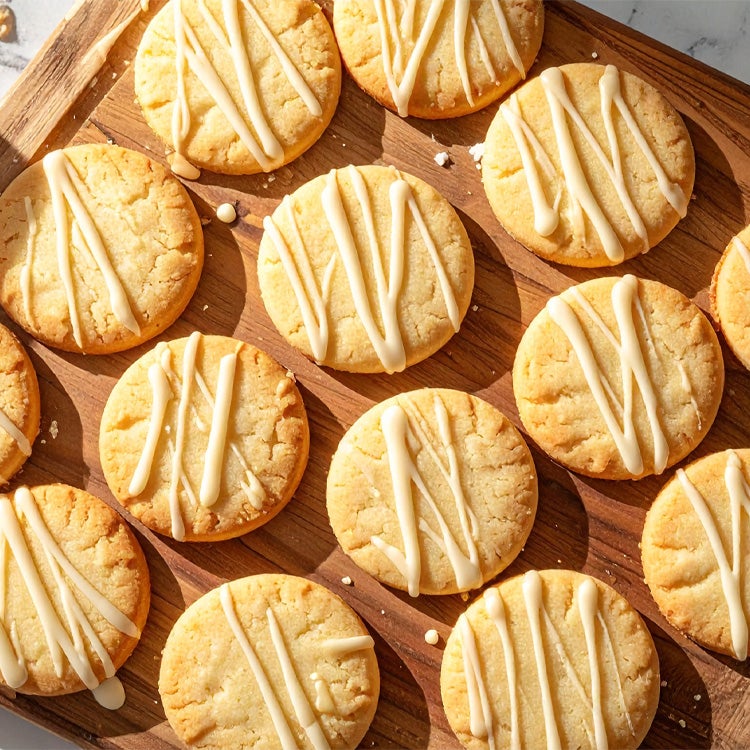
‘Tis the season to be jolly and we’ve got a sleigh full of fun pulled by our very own team of tasty reindeer Christmas cookies! That’s right, fun, crunchy and chewy Christmas sugar cookies decorated with smooth Milkybar® and a colourful Smarties® nose. They’re easy to make and fun to decorate – the kids will have a blast piping, sticking and bringing the reindeer to life. Each cookie also has a crafty little hole, so you can decorate your Christmas tree in style. Just be sure to hang them on the higher branches so little fingers don’t have free rein, dear!
For more recipes, inspiration and tips, don’t forget to sign up to our newsletter.
Why You’ll Love These Festive Cookies
The holidays are all about family time, tasty treats and things that bring us closer, and these festive cookies tick all the boxes. Our recipe also makes more than enough cookies, so the kids can decorate their own, and you’ll still have your pristine collection for Christmas tree decorations or thoughtful gifts. Oh, did we mention that they’re totally delicious? Creamy Milkybar®, a soft yet crunchy biscuit base, and let’s not forget the colourful, crunchy and chocolatey Smarties® nose!
How to Decorate Your Christmas Cookies
With a simple piping bag and a steady hand, our reindeer Christmas biscuits are easy enough for anyone to decorate. Just follow the antler shape as though you’re painting by numbers, with melted Milkybar®. The white chocolate also acts as the glue for the edible eyes and crunchy noses. Simply add a few dots to stick down the eyes or bigger dots if you want the eyes to have a white chocolate outline. Another dot secures the nose, and quicker than you can say, "Now, Dasher! Now, Dancer! Now Prancer and Vixen! On, Comet! On Cupid! On, Donder and Blitzen!”, you’ll have decorated your Christmas biscuits.
Want even more Christmas magic in your kitchen? Channel your inner Olaf and bake our magical Milkybar® Snowman Cake.
How Best to Melt White Chocolate
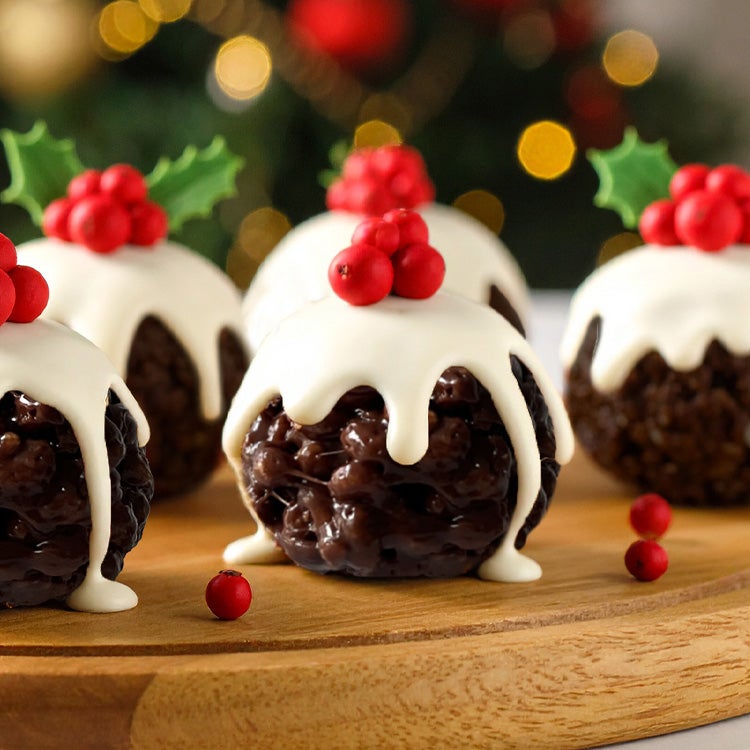
The best way to melt chocolate at home is either in the microwave, or on the stovetop. For the microwave, simply place the chopped Milkybar® into a heatproof bowl and microwave in 30-second bursts. Stir the chocolate in between bursts until it is melted and smooth. This is the quickest way to melt your chocolate and the same method we use in our cute Milkybar® Christmas Pudding Rice Crispy Cakes.
No microwave? No problem! Simply create a bain-marie on your stovetop. Get a heatproof bowl that fits snugly over a small or medium-sized pot. Add a cup of water to the pot and place the bowl on top. Make sure that the water is not touching the base of the bowl – it’s the steam that will heat the bowl of chocolate. Add the chopped Milkybar® to the bowl, turn the heat on low and stir until smooth. Be careful not to get any water into the melted chocolate or it will seize!
Storage Instructions
Your festive reindeer Christmas cookies are best stored in an airtight container at room temperature for up to five days. You can also freeze them in the container for up to three months. To defrost, simply leave it in the fridge overnight.
You will need:
- A baking tray
- Baking paper
- An electric whisk (optional)
- A small reindeer face cookie cutter
- A small piping bag
- Red ribbon to hang the cookies
- Scissors
Ingredients
- 150g buttery baking spread, softened
- 150g caster sugar
- 1 large egg
- 2 tsp vanilla extract
- 300g self-raising flour, plus extra for dusting
To decorate
- 90g Milkybar®, chopped
- Black gel icing
- 20 Smarties® (a mix of brown, pink and of course, red!)
- Red ribbon to hang the cookies
Each cookie typically contains:
of an adult’s Reference Intake (RI)*
Energy per 100g: 1988kJ/474kcal
Recipe
For the Cookies
- In a large bowl, combine the baking spread and caster sugar and mix until pale and fluffy.
- Add the egg and vanilla. Mix again to combine.
- Sift in the flour and mix until it forms a dough.
- Flatten into a disc, wrap in plastic wrap and chill for 1 hour.
- Preheat your oven to 180°C/160°C fan/gas 4. Line a baking tray with baking paper.
- On a floured surface, roll dough to 3-5mm thickness.
- Cut out reindeer face cookies using your cookie cutter. Aim for 20 cookies.
- Place on lined baking sheets and use a wooden skewer to work a small hole in the centre of the forehead. Don’t make it too close to the top edge of the cookie! Bake for 10–12 minutes, until edges are lightly golden. If your holes close during baking, simply wiggle them open again while the cookies are hot out the oven.
- Let the cookies cool on the tray for 5 minutes then transfer them to a wire rack to cool.
To Decorate
- Put the Milkybar® into a microwave-safe bowl and pop it into the microwave for 20-30 second bursts until melted enough to mix until smooth.
- Transfer the melted white chocolate to a small piping bag.
- Snip the end of the piping bag, but do not make the hole too large! Pipe Milkybar® into the antlers, then add a small dot to stick on the Smarties® nose. Make small black dots for the eyes with the edible gel icing.
- Let the white chocolate dry before threading the ribbons through the holes to turn your cookies into delicious Christmas tree decorations.
Top Tips
Sugar cookies are easy to make, but don’t skip the chilling step. It makes the dough easier to roll and cut out. Always remember to dust your work surface before rolling to prevent the dough from sticking. You can also dust your cookie cutter before each cut. If you don’t have a rolling pin, a glass bottle will get the job done! For another tasty Christmas-themed biscuit, try our Christmas Shortbread Snowmen.
Tags
Share The Happiness


Explore Milkybar® Recipes
Deliciously decadent white chocolate magic awaits you and your family in our Milkybar® recipes!