
RECIPE
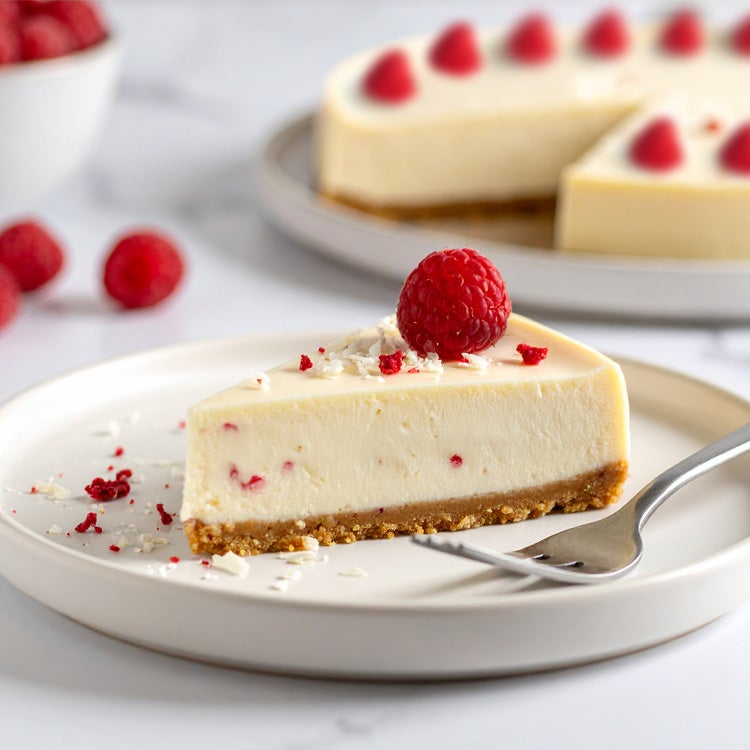
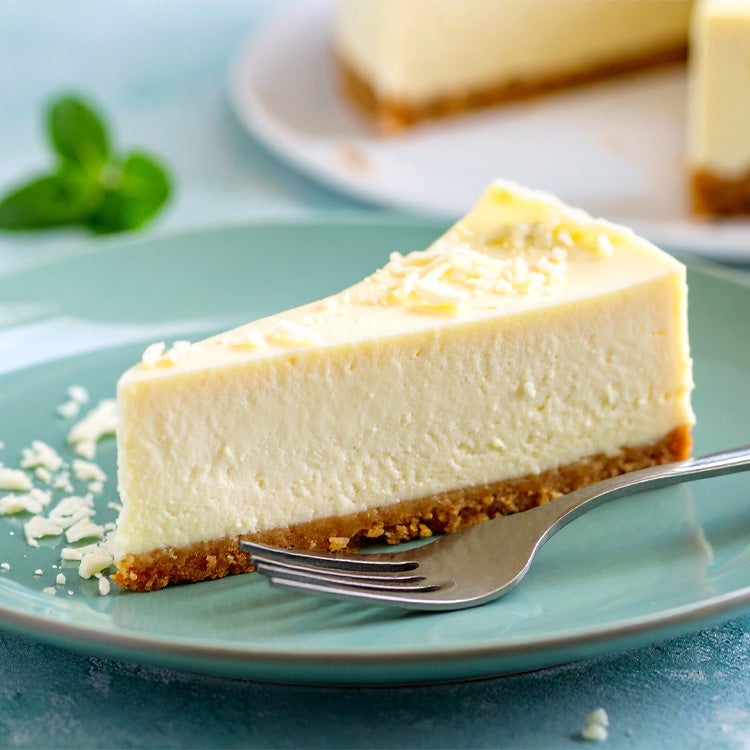
No-Bake Lemon and White Chocolate Cheesecake Recipe
Creamy, crunchy and zingy, this lemon cheesecake is the star of the summer party
18 November, 2025
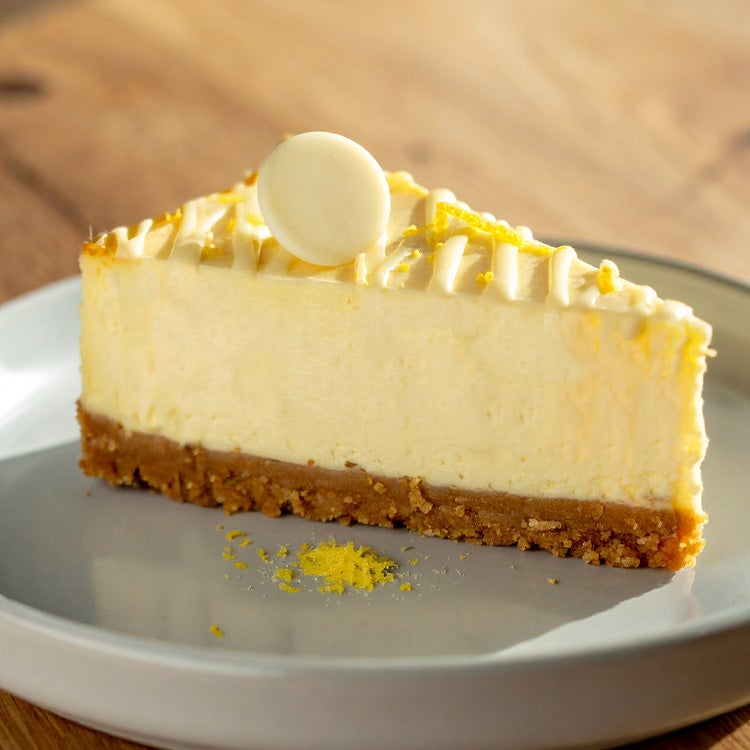
Sweet, zesty and oh-so-dreamy, our no-bake white chocolate and lemon cheesecake is what dessert heaven looks like. Every bite is a balance of sweet and tangy, with a velvety filling, chunks of smooth Milkybar® and zesty bites of lemon flavour. The buttery biscuit base brings it all together and the result is a melt-in-your-mouth knockout. It’s ridiculously easy to make once you know the basics – and the best part? You can prep it up to three days in advance of any celebration!
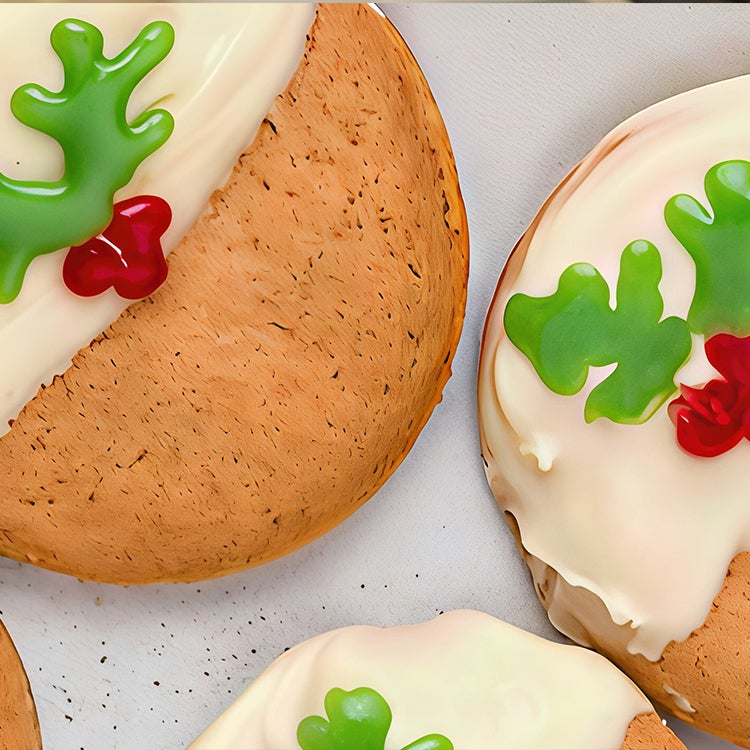
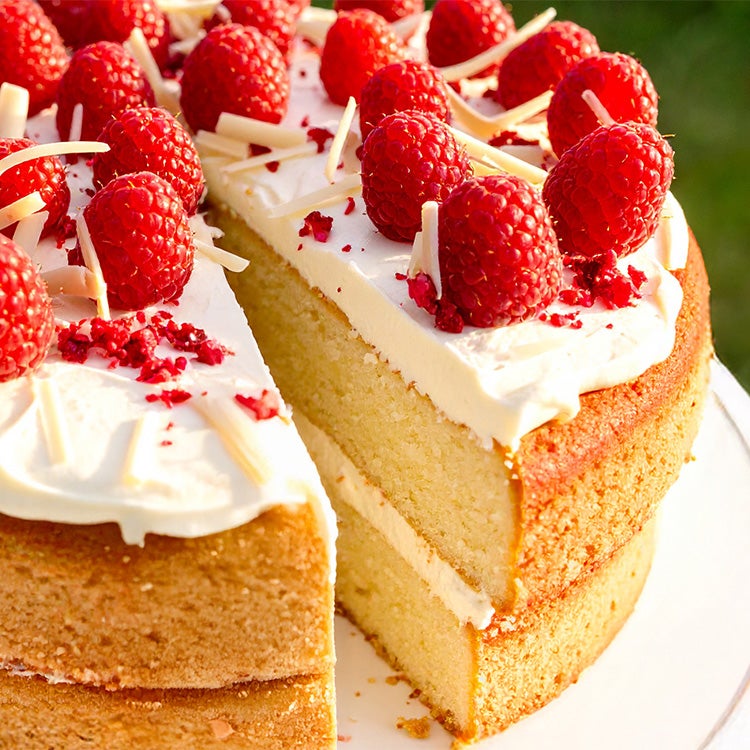
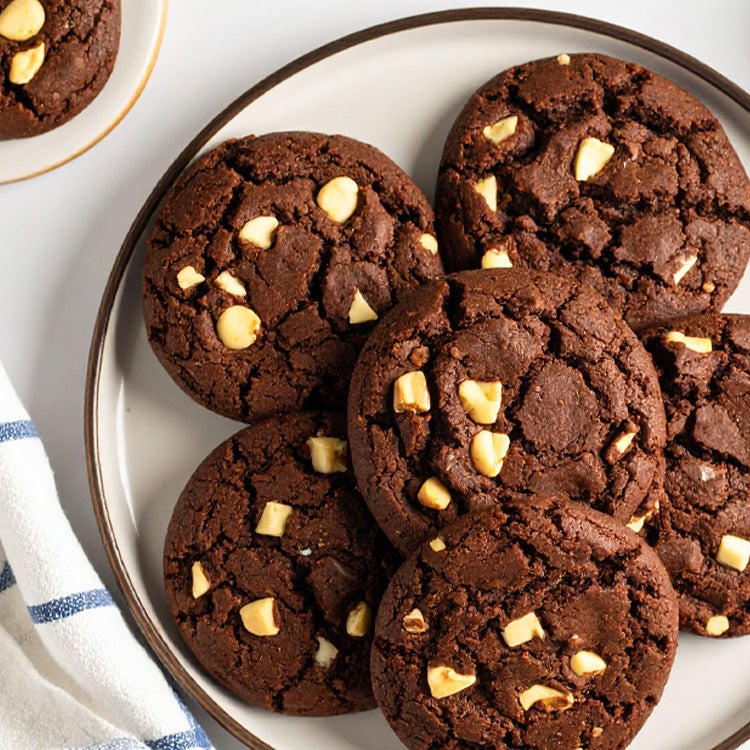
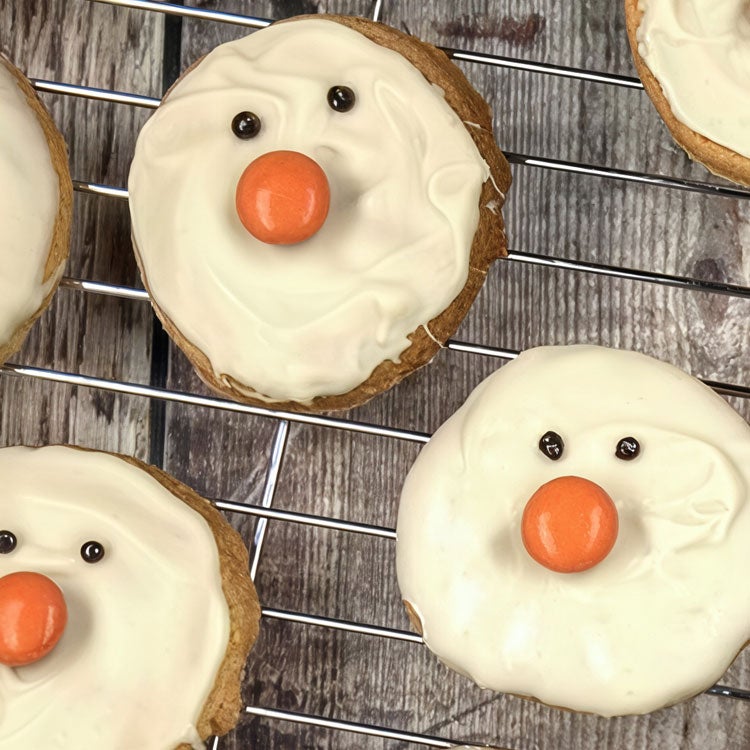
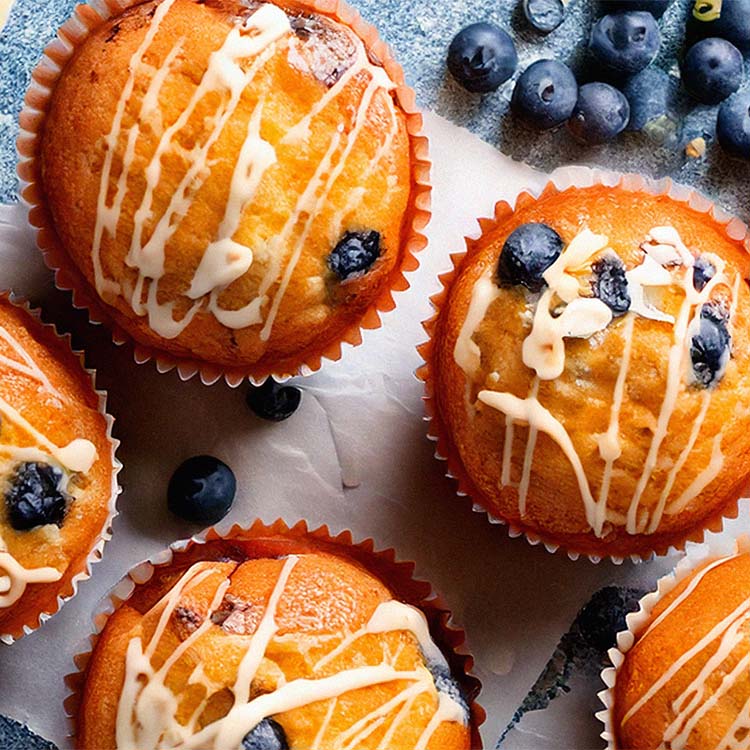
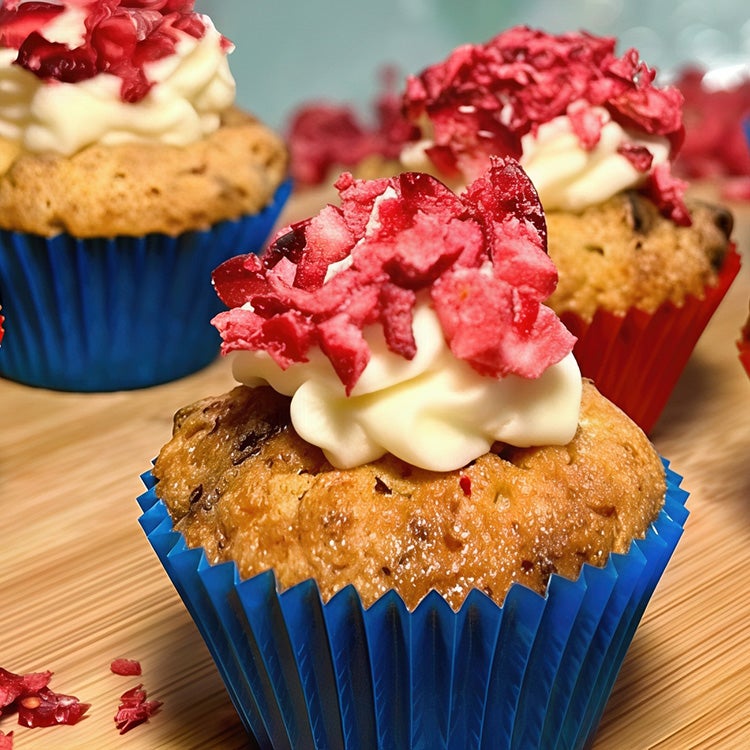
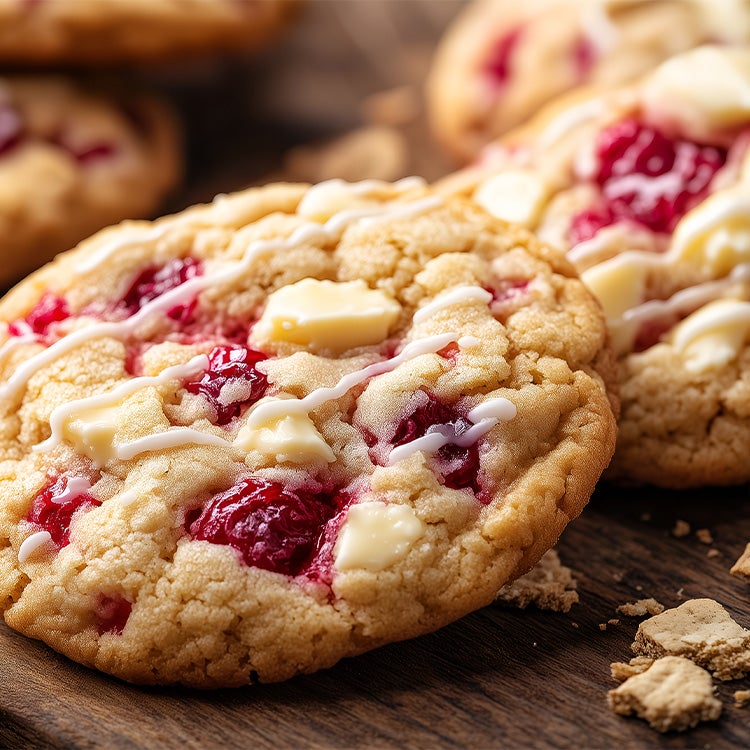
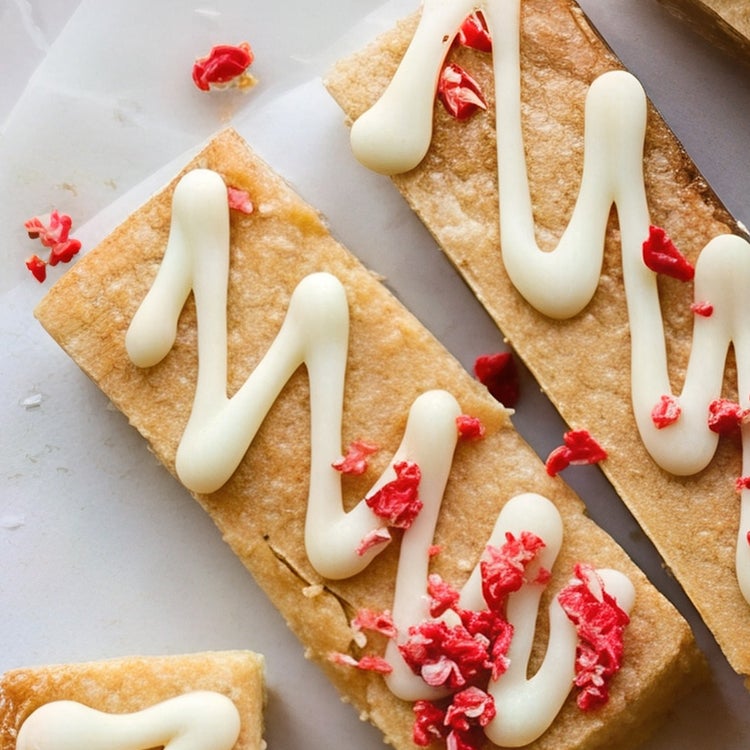
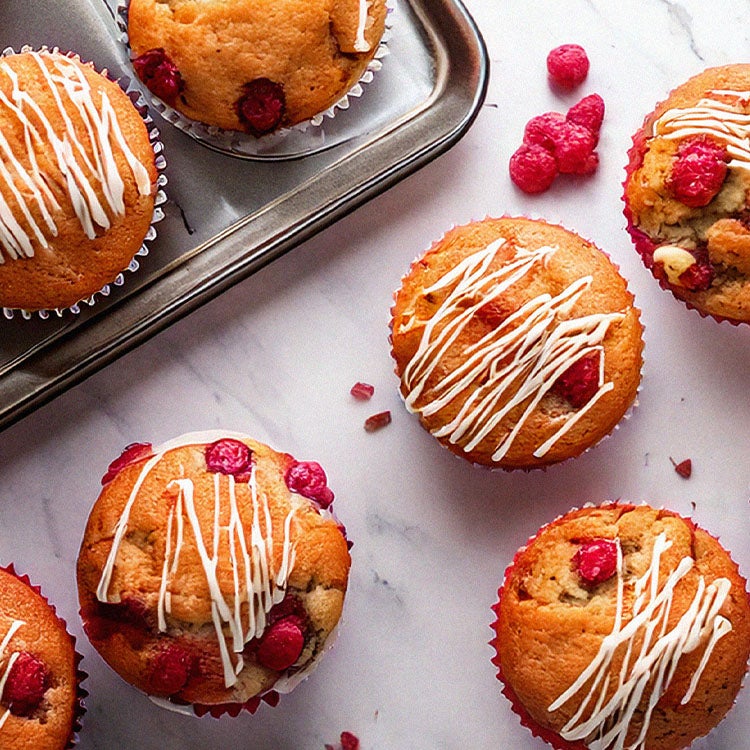
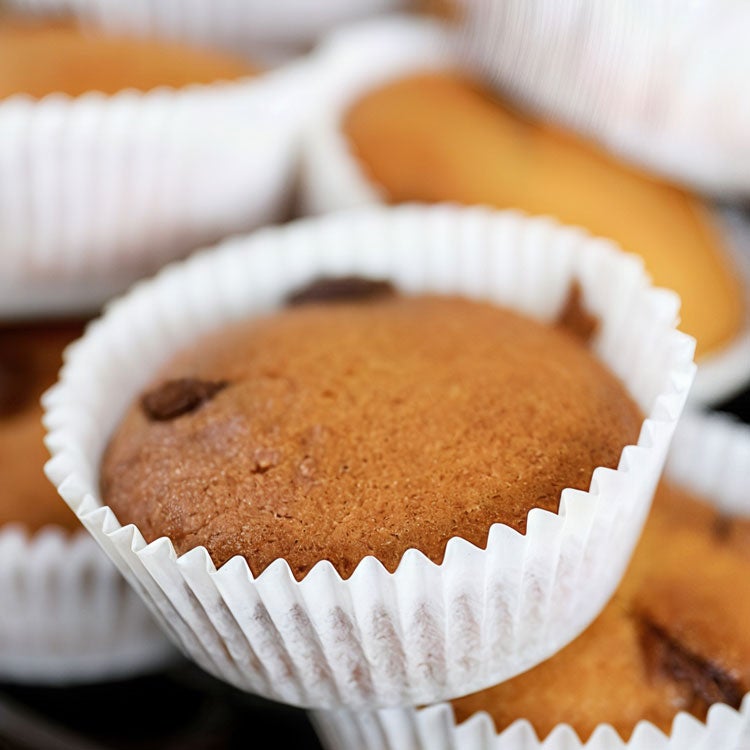
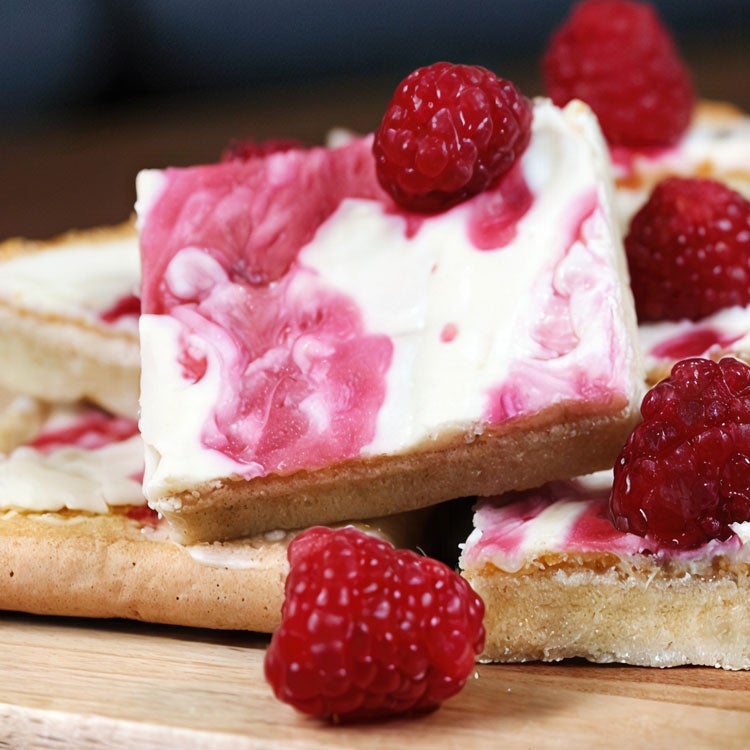
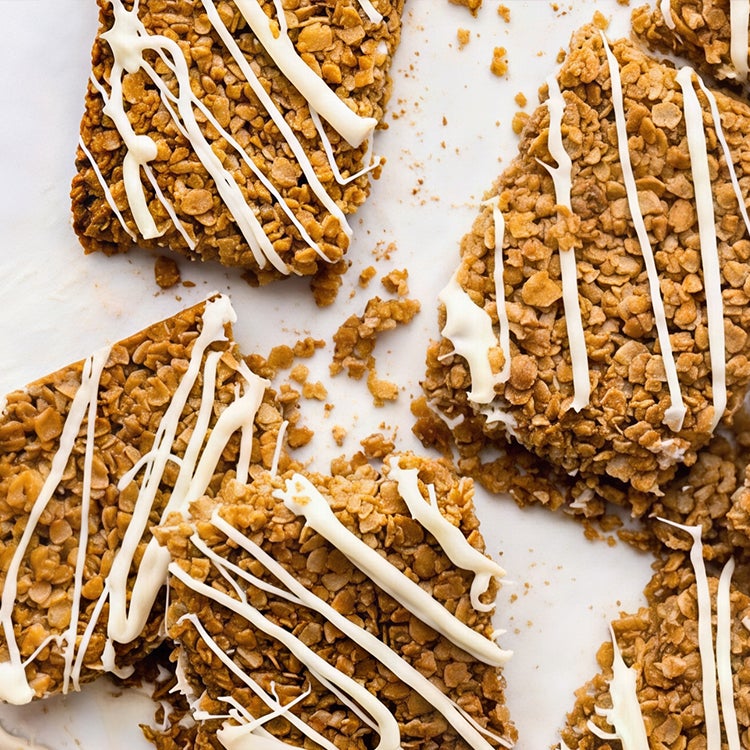
In the mood for more deliciously smooth Milkybar® recipes? Check out our chewy White Chocolate and Raspberry Cookies, or if you’re looking for something chunkier, try our Raspberry and White Chocolate Muffins. If you’ve got your heart set on all things cheesecake, read our Easy Cheesecake Recipes.
For more recipes, inspiration and tips, sign up to our newsletter. Happy baking!
Lemon and White Chocolate Cheesecake with Milkybar®
Our lemon cheesecake recipe is the simplest way to turn any event into a celebration. Simply whip it, mix it, chill it and serve!
Cheesecake variations
Our lemon and white chocolate cheesecake is delicious as is, but that doesn’t mean you can’t mix things up. For a rich chocolatey base, use chocolate Hobnobs or digestives and add a sprinkle of cinnamon for depth. Crushed ginger biscuits also work well and provide a fiery zing to help balance out the sweetness.
To take your lemon experience to even higher citrus heights, serve your slices with a dollop of store-bought lemon curd. For a different citrus flavour twist, try replacing the lemon with orange or clementine juice and zest.
For a fun, colourful and tasty topping, decorate with a 95g sharing bag of Milkybar® Buttons Jelly and Ice Cream with chewy Rowntree’s®.
How to Store a Lemon and White Chocolate Cheesecake
Pop your lemon and white chocolate cheesecake into a container with a lid and store it in the fridge for up to five days. You can also wrap the cheesecake in the tin and freeze for up to three months. To defrost, simply leave the wrapped tin in the fridge overnight.
You will need
- 20cm round springform tin
- An electric whisk (optional)
- A palette knife or silicone spatula (both optional)
- Foil or cling film to cover
For the biscuit base
- 200g digestive biscuits
- 100g buttery baking spread, melted
For the filling
- 10g powdered gelatine
- 2 tbsp water
- 300ml whipping cream, cold
- 500g low-fat cream cheese, ideally room temperature
- 2 tbsp lemon juice
- Zest of 1 lemon
- 1 tsp vanilla extract
- 100g icing sugar
- 90g Milkybar® Sharing Bar, chopped
For the decoration
- 50g Milkybar®, melted
- 16 Giant Milkybar® Buttons
- Zest of 1 lemon

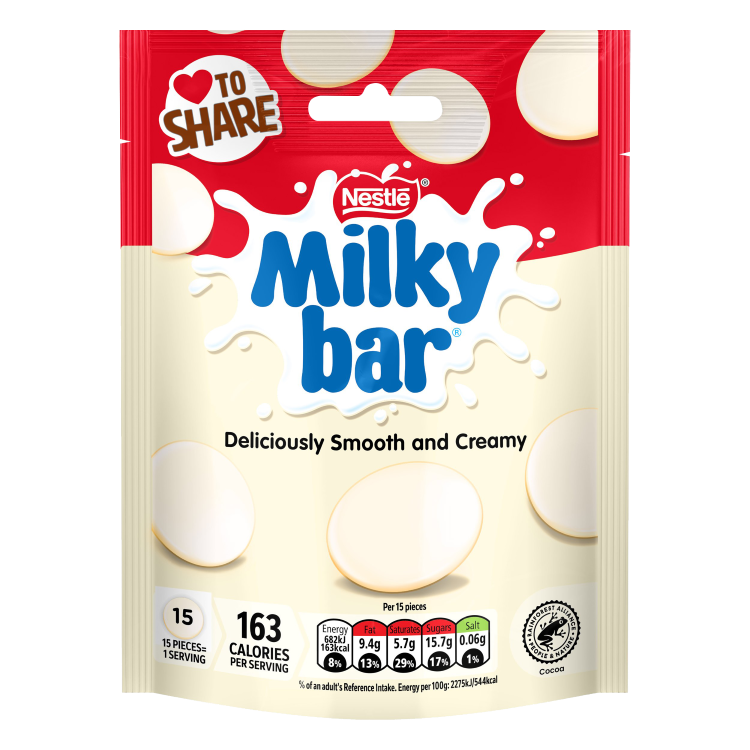
Milkybar White Chocolate Sharing Bar 90g
Milkybar Giant Buttons White Chocolate Sharing Bag 94g
Each slice (1/16) typically contains:
of an adult’s Reference Intake (RI)*
Energy per 100g: 1406kJ/338kcal
Method
For the biscuit base
- Blitz the digestive biscuits into fine crumbs using a food processor (or put them in a Ziplock bag and bash them with a rolling pin).
- Mix the crumbs with the melted baking spread until well combined.
- Press the mixture firmly into the base of a 20cm springform tin. Use the base of a thick glass to press it down and smooth it out.
- Pop it into the fridge to chill while you whip up the filling.
For the filling
- Pour the water into a small microwave-safe bowl. Sprinkle in the gelatine and mix to combine. Let it sit for 5 minutes to activate.
- In a large bowl, whip the double cream until it forms stiff peaks, then set aside.
- Heat the gelatine mixture in the microwave for 10-15 seconds until it is just melted but not hot.
- In another large bowl, add the cream cheese, lemon juice, zest, vanilla and gelatine mixture. Sift in the icing sugar and whisk gently until smooth.
- Gently fold the whipped cream into the cream cheese mixture using a silicone spatula or the edge of a metal dessertspoon, until combined. Folding it manually will help retain the air in the cream.
- Carefully fold in the chopped Milkybar® pieces in the same way.
- Spoon the filling over the chilled biscuit base and smooth the top with a palette knife or spatula. Cover with foil or cling film and place it into the fridge for at least 6 hours to set – ideally overnight.
- Once set, remove the cheesecake from the tin – you may need to run a palette knife around the edge to loosen it from the tin.
- Drizzle with the 50g melted Milkybar® and arrange the Milkybar® Buttons on the top of the cheesecake. You can either lay them flat around the border of the cheesecake or stand them on their sides to create a fancy spiral pattern! Grate the lemon zest evenly over the surface and serve.
Top Tips
The secret to a great no-bake lemon cheesecake lies in the mixing. It’s a balance of fast, slow and gentle! The cold cream must be whipped to stiff peaks to incorporate lots of air for texture and structure. The cream cheese must be mixed gently so it does not become sticky and runny. The two must be folded together gently to retain structure. Hit all three, and you get a beautiful lemon and white chocolate cheesecake. Our addition of gelatine ensures your cheesecake sets every time!
Tags
Share The Happiness


Explore Milkybar® Recipes
Deliciously decadent white chocolate magic awaits you and your family in our Milkybar® recipes!