
RECIPE
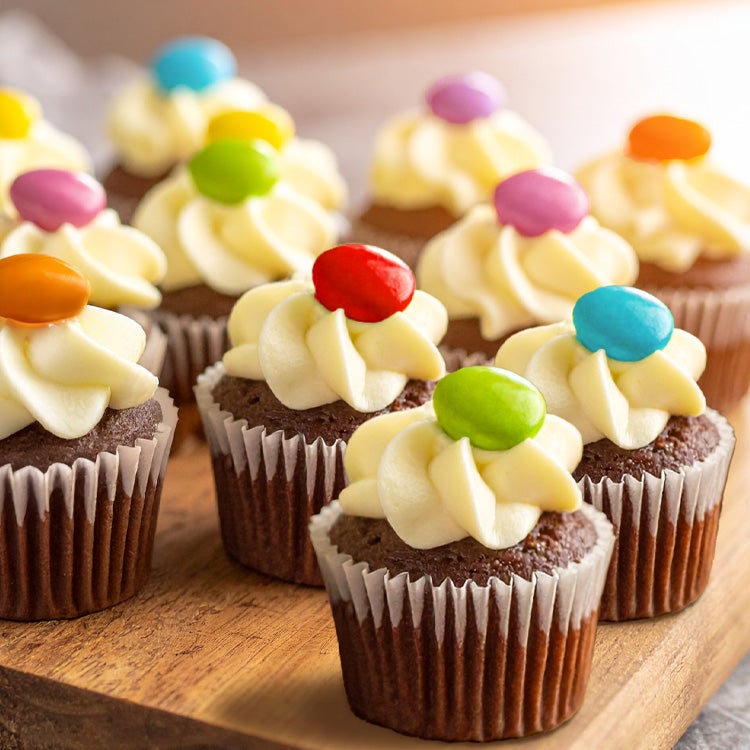
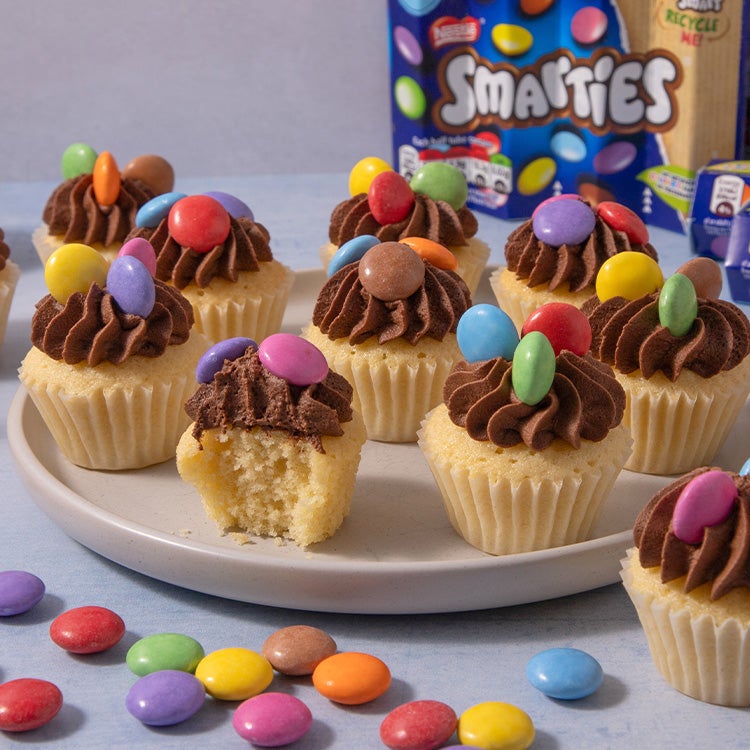
Smarties® Cupcakes Recipe
If you’ve ever wanted to squish a warm cupcake, then today is your lucky day! Discover all you need to make these flat-topped, chocolate-coated delights.
20 November, 2025

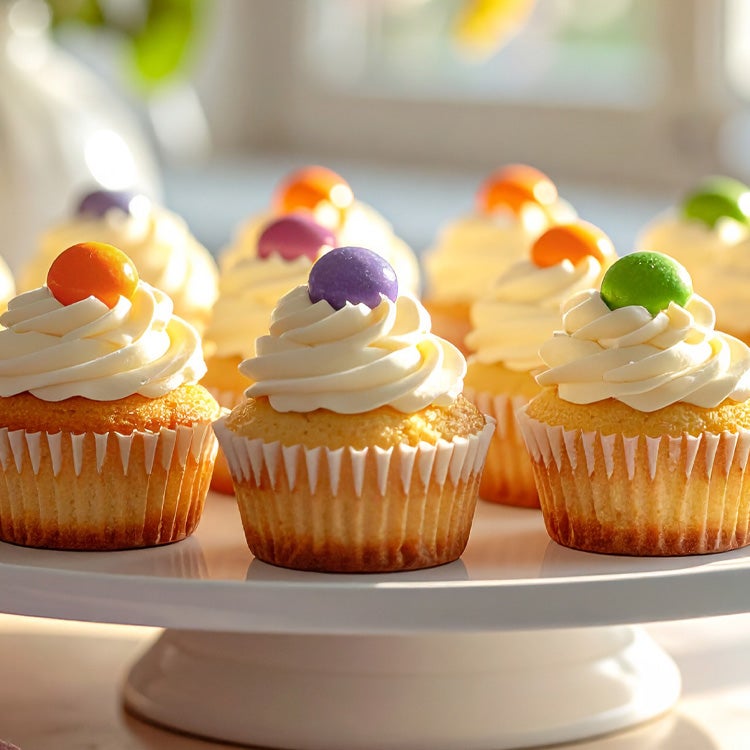
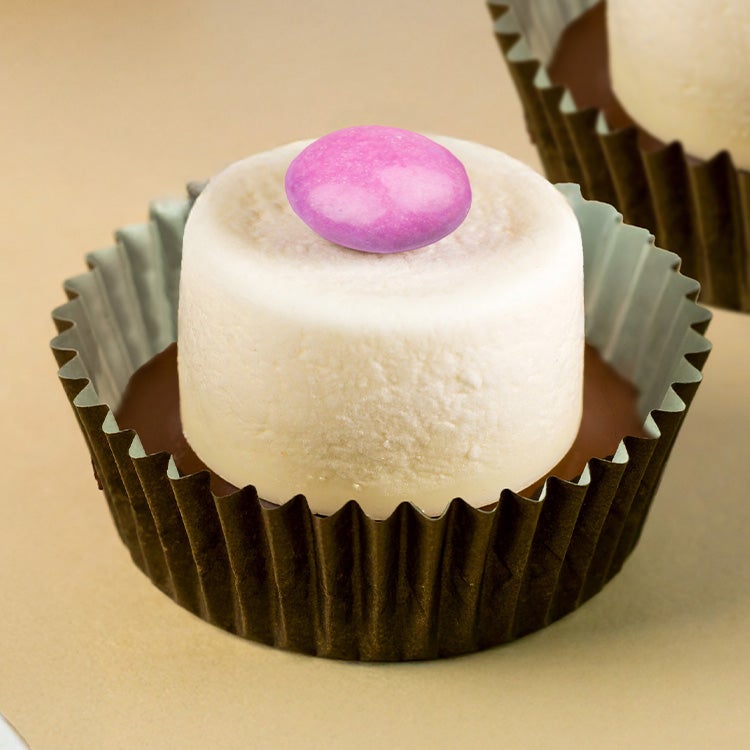
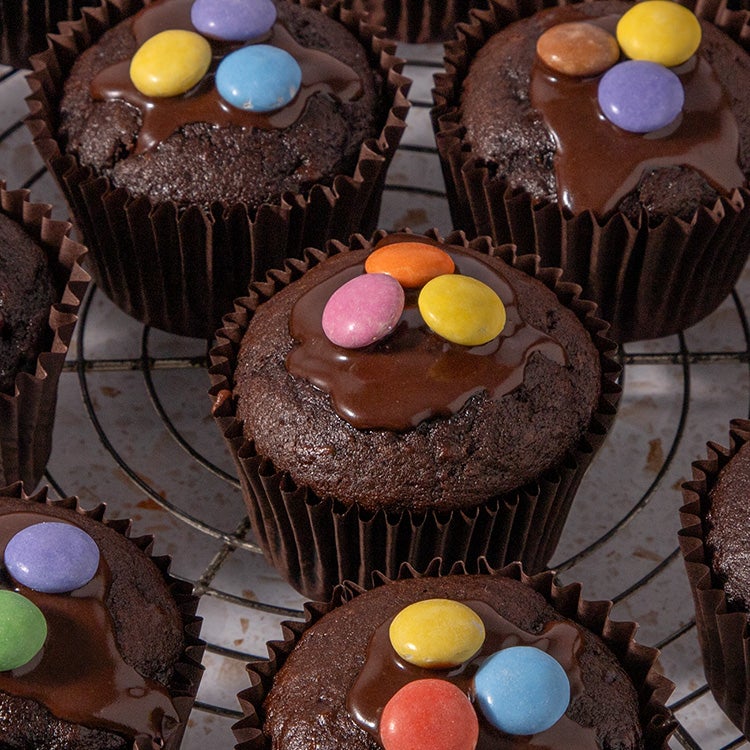
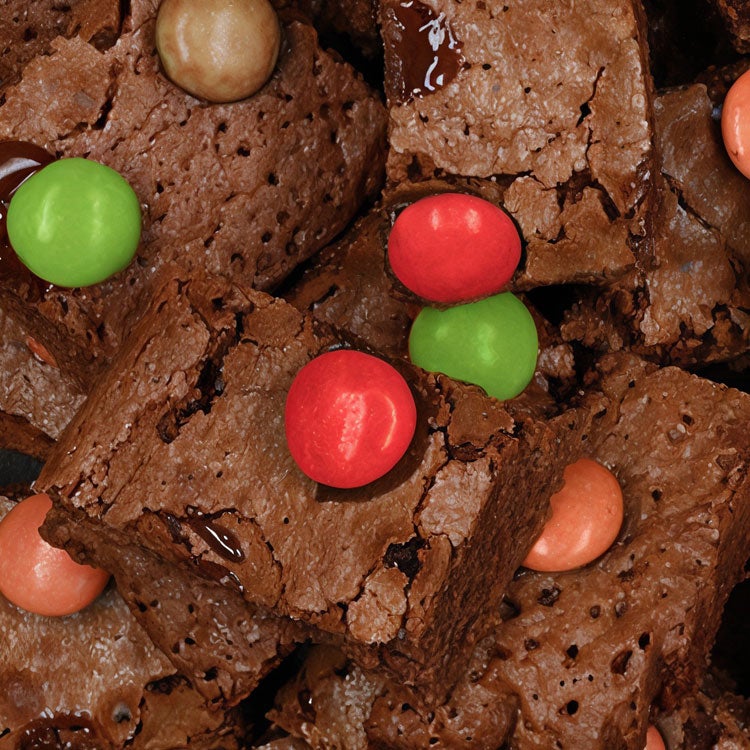
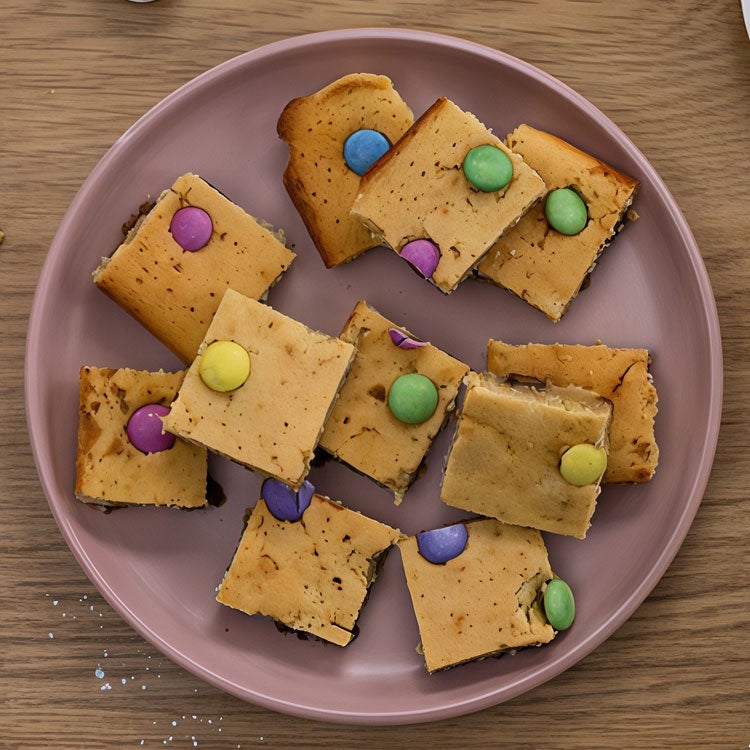
Get ready to switch up your cupcake game with our Smarties® cupcakes! These aren’t your normal swirly-topped, sky-high buttercream bakes. They’re flatter but still fluffy, more chocolatey with a smooth milk chocolate finish, and topped with colourful Smarties® for a pop of colour and crunch. Like our Mini Smarties® Vanilla Cupcakes, they’re great for kids and a fun weekend baking activity for the whole family.
Why You'll Love These Smarties® Cupcakes
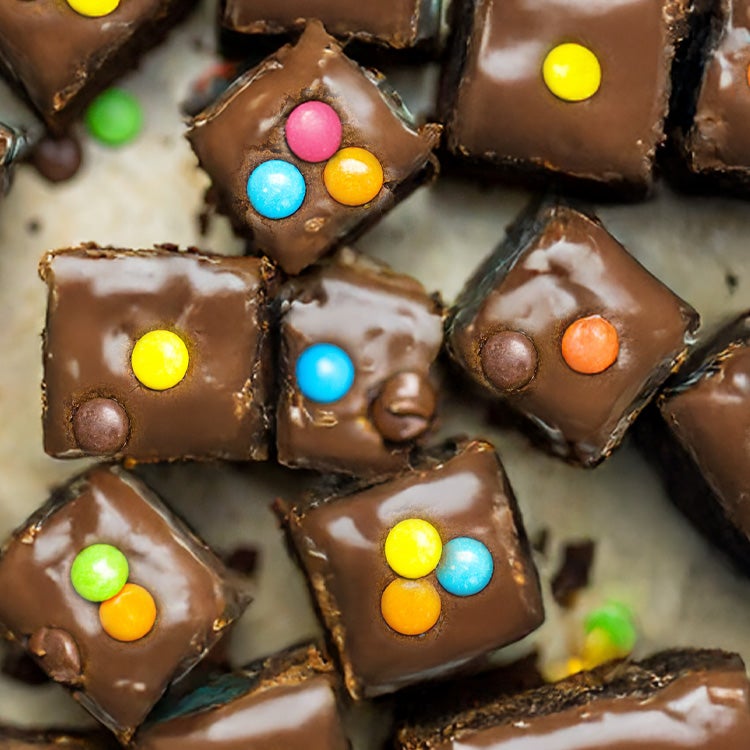
Soft and fluffy with a layer of solid milk chocolate and a colourful Smarties®, these cupcakes hit all the flavour and texture notes. The yoghurt keeps them moist for days, and the rich cocoa flavour combined with the smooth milk chocolate and crunchy Smarties® is simply divine. Plus, they are a nostalgic throwback to our Nestlé Smarties® Cupcakes product from yesteryear!
When to Make Smarties® Cupcakes?
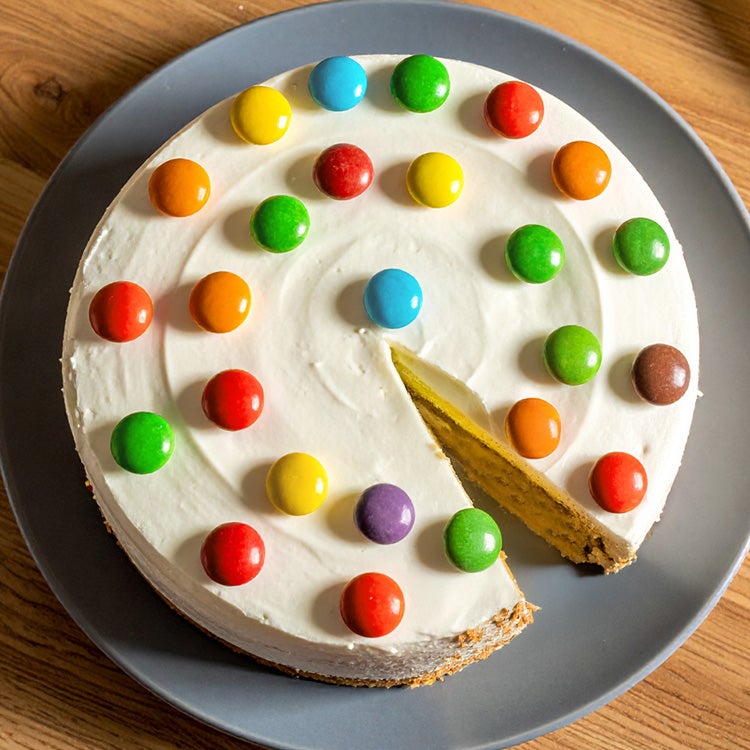
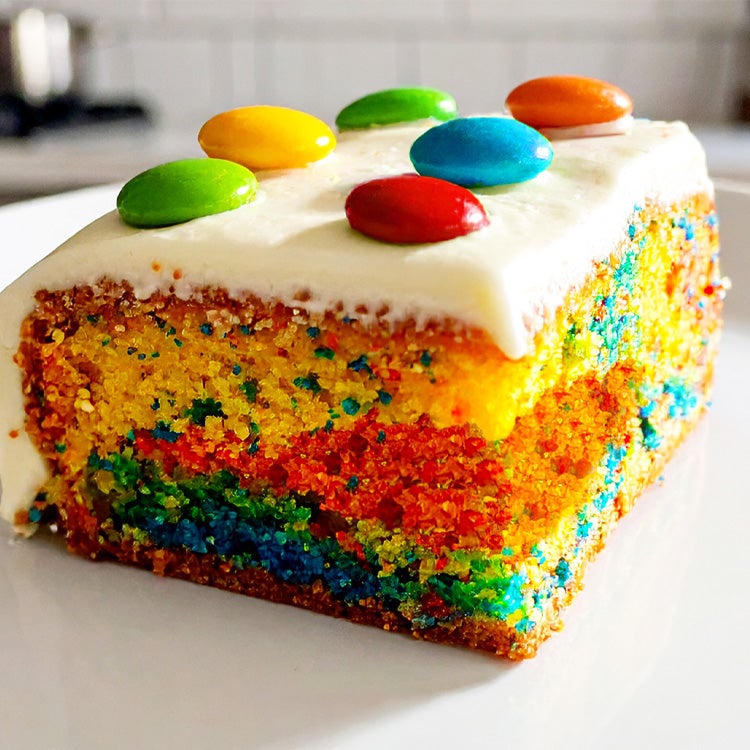
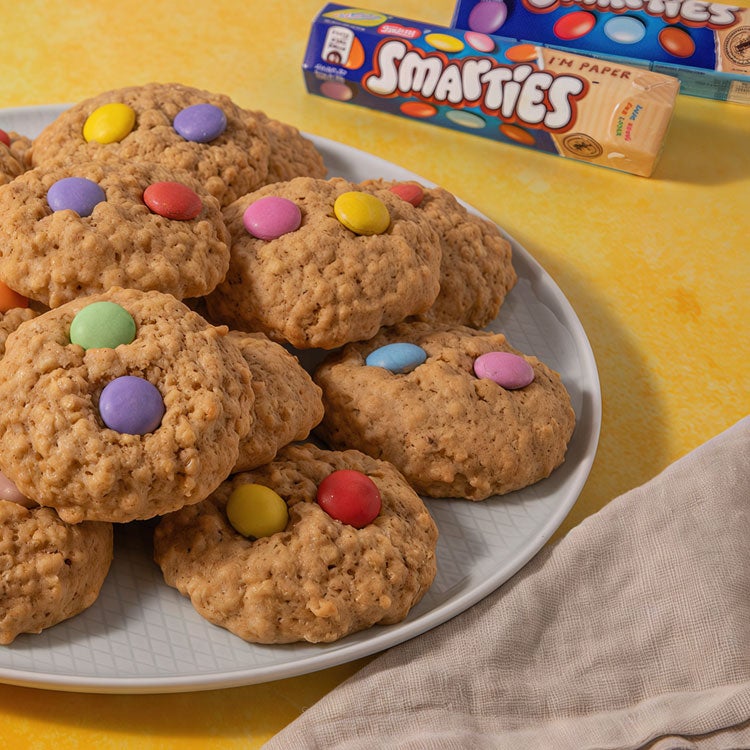
Our Smarties® cupcakes are just the thing to add colour, vibrance and delicious chocolate flavour to kid's parties, school bake sales, or Saturday afternoon tea. Like many of our easy cupcakes, these comes together easily with basic cupboard staples, making this great recipe to keep on hand for any emergency celebration! If you have a little more time though, consider our one-tray, faff-free Smarties® Rainbow Cake recipe – a great way to give your next birthday party a colourful twist.
How to Store Smarties® Cupcakes
Pop your colourful Smarties® cupcakes into an airtight container and store at room temperature for up to three days.
Looking for more inspiration, tips and recipes? Don’t forget to sign up to our newsletter!
How to Get Flat Cupcakes
The secret to the flat top is to work quickly as the cupcakes come out of the oven. While they are still hot, use the base of a rocks glass, a measuring cup or anything flat and round, then press it gently to flatten the top. Go easy until you get a feel for how much pressure is needed to flatten the top without turning the cupcake into a pancake.
You will need
- 12 fairy cupcake cases
- A cupcake baking tray
- A glass tumbler or measuring cup
Ingredients
- 90g self-raising flour
- 35g cocoa powder
- 120g light soft brown sugar
- 1 large egg
- 90ml semi-skimmed milk
- 90g low-fat Greek yoghurt
- 1 tsp vanilla extract
- 60ml hot water
To Decorate
- 100g milk chocolate, melted
- 1 tsp sunflower oil
- 12 Smarties®
Each cupcake typically contains:
of an adult’s Reference Intake (RI)*
Energy per 100g: 2102kJ/286kcal
Method
- Preheat the oven to 180°C/160°fan/gas 4. Line your cupcake tin with fairy cupcake cases.
- Sift the flour and cocoa in a bowl and whisk to combine.
- In another bowl, add the sugar, egg, milk, yoghurt and vanilla. Whisk until smooth.
- Add the wet ingredients to the dry ingredients and fold to combine. Gradually add the hot water while mixing until combined.
- Fill cupcake liners just over half full and bake for 13-15 minutes. A cocktail stick or cake tester should come out clean.
- To flatten the tops, as soon as the cupcakes come out of the oven, use something flat like the base of a glass tumbler to gently press the tops flat.
- Transfer the cupcakes to a wire rack to cool completely.
- Once cooled, melt the milk chocolate in a microwave-safe bowl in a 30-second burst, then taking out every 15 seconds and stirring. Keep the oven gloves handy as the bowl heats up! Once melted and smooth, mix in the oil. Spread a thin layer on each cake and use the back of a teaspoon to move it to the edges of the cupcake. Give the chocolate a few minutes to cool slightly, then pop a Smarties® in the middle and let the chocolate cool to set.
Top Tips
Rather than pouring the melted chocolate onto the cupcakes or piping it, just use a spoon to divide it equally between the cupcakes. Work fast and gently spread it using the back of the spoon up to the edges for an even layer. Once the chocolate has started to set slightly, pop the Smarties® on, and voilà, you’re done!
Tags
Share The Happiness


Explore Smarties® Recipes
Gather the family and add a splash of colour to kitchen with our delicious Smarties® recipes.