
In this article
- How to Colour Eggs for Easter
- How to Use Decorated Easter Eggs
- Easter Crafts for Kids
- Easter Baking Recipes
If you’re looking for egg-citing activities this Easter, you’ve come to the right place! Easter is all about family fun and creativity, and what better way to get into the spirit than by Easter egg colouring using natural ingredients? With a few kitchen staples like onion skins, red cabbage and turmeric, you can create stunning natural designs with the kids. In our easy-to-follow guide, we’ll show you how to make your own dyes, create fun patterns, and even use your creations in classic Easter games. So grab your eggs and let’s get cracking!
For more inspiration, sweet ideas and tasty recipes, sign up to our newsletter.
1. How to Colour Eggs for Easter
Your kitchen is a treasure trove of natural dye options to colour your eggs. Not only is it fun for you to explore which ingredient makes what colour, but your kids will have a blast being your Easter sous chefs. Once you’ve created the Easter egg colouring, you can customise your eggs with playful patterns that’ll make the Easter Bunny jealous! And once you’ve coloured your eggs, why not embellish them with some painted-on squiggles and swirls?
Natural Colours for Easter Eggs
Before we decorate your Easter eggs, we need to explore our colour palette. Here’s what we’ll be using for each colour:
- Blue: chopped red cabbage (2 cups or 500ml per batch)
- Orange: yellow onion skins (2 cups or 500ml per batch)
- Pink/red: red onion skins or chopped beetroot (2 cups or 500ml per batch)
- Yellow: ground turmeric (¼ C or 60ml per batch)
- Green: matcha powder (¼ C or 60ml per batch)
- Lavender: hibiscus tea (6-8 teabags per batch)
- Mocha/brown: coffee (500ml per batch)
You will also need a few other ingredients to go with your chosen colour.
- 2 tablespoons of white vinegar for each colour. This helps the colour set.
- 2 cups (500ml) of water to boil your ingredients in.
- Sunflower oil and paper towel to shine your eggs once they are dyed.
How to Make Natural Egg Dye
- Add your chosen ingredient, like 2 cups (500ml) of chopped red cabbage, to a pot along with 500ml water. Bring to a boil, then reduce the heat to a simmer, cover and cook for 20 minutes.
- After 20 minutes, strain the liquid, then add 2 tablespoons of vinegar (this helps the colour stick to the eggs).
Let the dye cool to room temperature, and it is ready to use.
Patterns for Easter Egg Decorating
Why settle for just one colour when you can create amazing patterns? Here are some easy ways to level up your Easter egg colouring game.
1. Marble Effect
Wrapping your eggs in red or yellow onion skins and then securing them in a clean stocking or piece of cheesecloth will produce a marbled effect. For best results, soak the eggs for 2-3 hours. You can also rub unwrapped eggs periodically with your fingers to create a marbled effect.
2. Rubber Band Patterns
Wrap rubber bands in a criss-cross shape or any design you choose. Submerge the eggs for a few hours, then dry and remove the bands to reveal your unique pattern.
3. Nature Imprints
Place small leaves or flowers against the egg, then wrap it in a clean stocking before dying. The result? A gorgeous natural print! Be careful not to shake the leaves or flowers out of place when you submerge these eggs.
4. Creative Stickers
Give your eggs a sticker makeover, then pop them into the dye to soak for a few hours. After they’ve dried, remove the stickers to reveal your design! Let the kids go wild and see who has the most interesting design.
Ingredients and Tools
- A knife and chopping board (if needed)
- A few pots with lids (depending on how many colours you are making at once).
- The base ingredient for your desired colour
- Water
- Measuring jug
- White vinegar
- A clean stocking (if you are making marbled designs)
- A large glass jar or container with a lid (a clean 1kg yoghurt tub is great)
- Paper towel (to place under the drying rack)
- Drying rack
Step-by-Step Guide
- Boil your eggs for 12 minutes, then place them into cold water to cool.
- Make your dye according to our recipe.
- Let the dye cool, then pour it into a large glass jar or container with a lid.
- Choose a pattern for your eggs, then submerge them into the dye and pop the container in the fridge.
- Soak your hard-boiled eggs in the dye overnight for the darkest colours. If you’d like lighter colours, soak the eggs for 2-3 hours. One batch of dye is enough for 5-6 eggs.
- Use a fork or a slotted spoon to remove the eggs from the dye and place them onto a rack over a tray lined with paper towels.
- Remove any onion skins, stickers, or rubber bands and leave the eggs to dry.
- Once the eggs are dry, dab a little sunflower oil onto a piece of paper towel and gently polish the eggs until shiny.
- Store your gorgeous, coloured Easter eggs in the fridge until needed, up to one week.
Top Tips for Decorating Easter Eggs
- Pale eggs dye better than dark brown eggs.
- Handle your eggs with care! Any cracks will throw off your design. If an egg cracks while it’s boiling, eat it as a snack and boil another one to dye
- Try doing multiple dyes to create layers of colours. You could do a base dye colour, then use leaves or flowers to create patterns. Be sure to dry the egg completely between coats.
- Rotate the eggs gently in the dye once or twice to ensure an even coat.
- Be patient! You’re the tortoise, not the Easter bunny in this race. Longer dyes will produce richer results.
2. How to Use Decorated Easter Eggs
Congratulations! You’ve created an array of beautiful, coloured Easter eggs and no doubt impressed the Easter Bunny. All that’s left to do is have some fun with them.
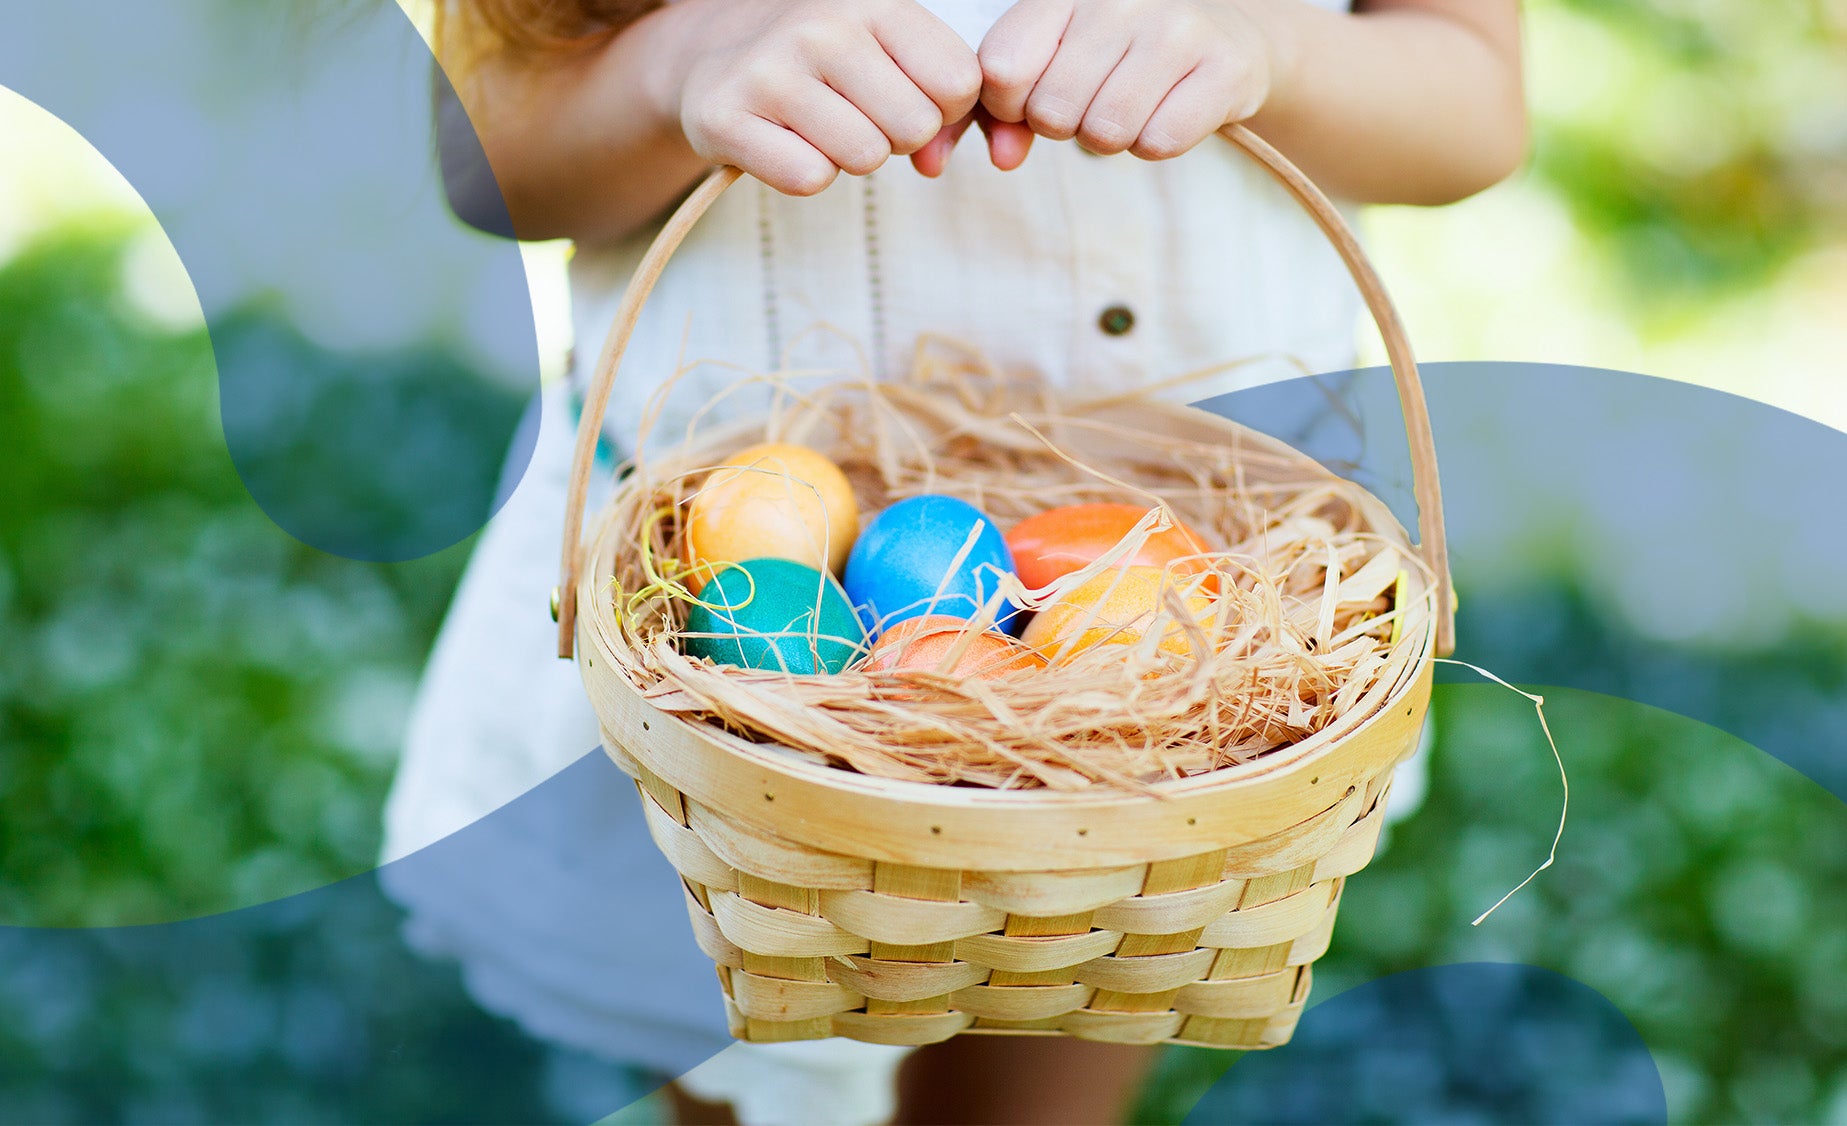
Make an Easter Egg Hunt
Your stunning eggs deserve a chance to shine in the age-old tradition of the Easter egg hunt. Follow our handy guide and make this year’s hunt your best yet: How to Plan an Easter Egg Hunt.
Easter Egg and Spoon Race
The egg and spoon race is a classic British garden game that dates all the way back to the late 19th century. The rules are simple: each player balances an egg on a spoon and races to the finish line without dropping it. If the egg falls, the player must stop and place it back on the spoon before continuing. The first to cross the finish line with their egg intact wins.
Fun fact: In 1990, a determined runner made London Marathon history by carrying an egg on a spoon the entire way! They completed the 26.2-mile race in an impressive 3 hours and 47 minutes, all while keeping the uncooked egg perfectly balanced. Now that’s some serious skill and steady hands!
Easter Egg Rolling
Easter egg rolling is another fun, time-honoured tradition where players race their eggs down a hill. The challenge is to see whose egg rolls the farthest without breaking. Each player starts at the top, gently pushing their decorated egg down the slope. The White House in Washington, D.C., has been hosting their annual Easter Egg Roll since 1878!
3. Easter Crafts for Kids
Rather than simply tossing your crafty colouring work in the bin, get the kids to create an Easter art keepsake. Simply draw an egg onto a piece of paper, then crack and peel your eggs. Spread some glue inside the egg drawing and stick the coloured shell onto the paper. Voilà! You’re one egg-ceptional artist.
4. Easter Baking Recipes
If you’re looking for more kitchen activities to keep the little ones busy, head over to our Easter Baking for Kids article.
For more creative inspiration, tips and recipes, sign up for our newsletter.
Have a Crafty Easter
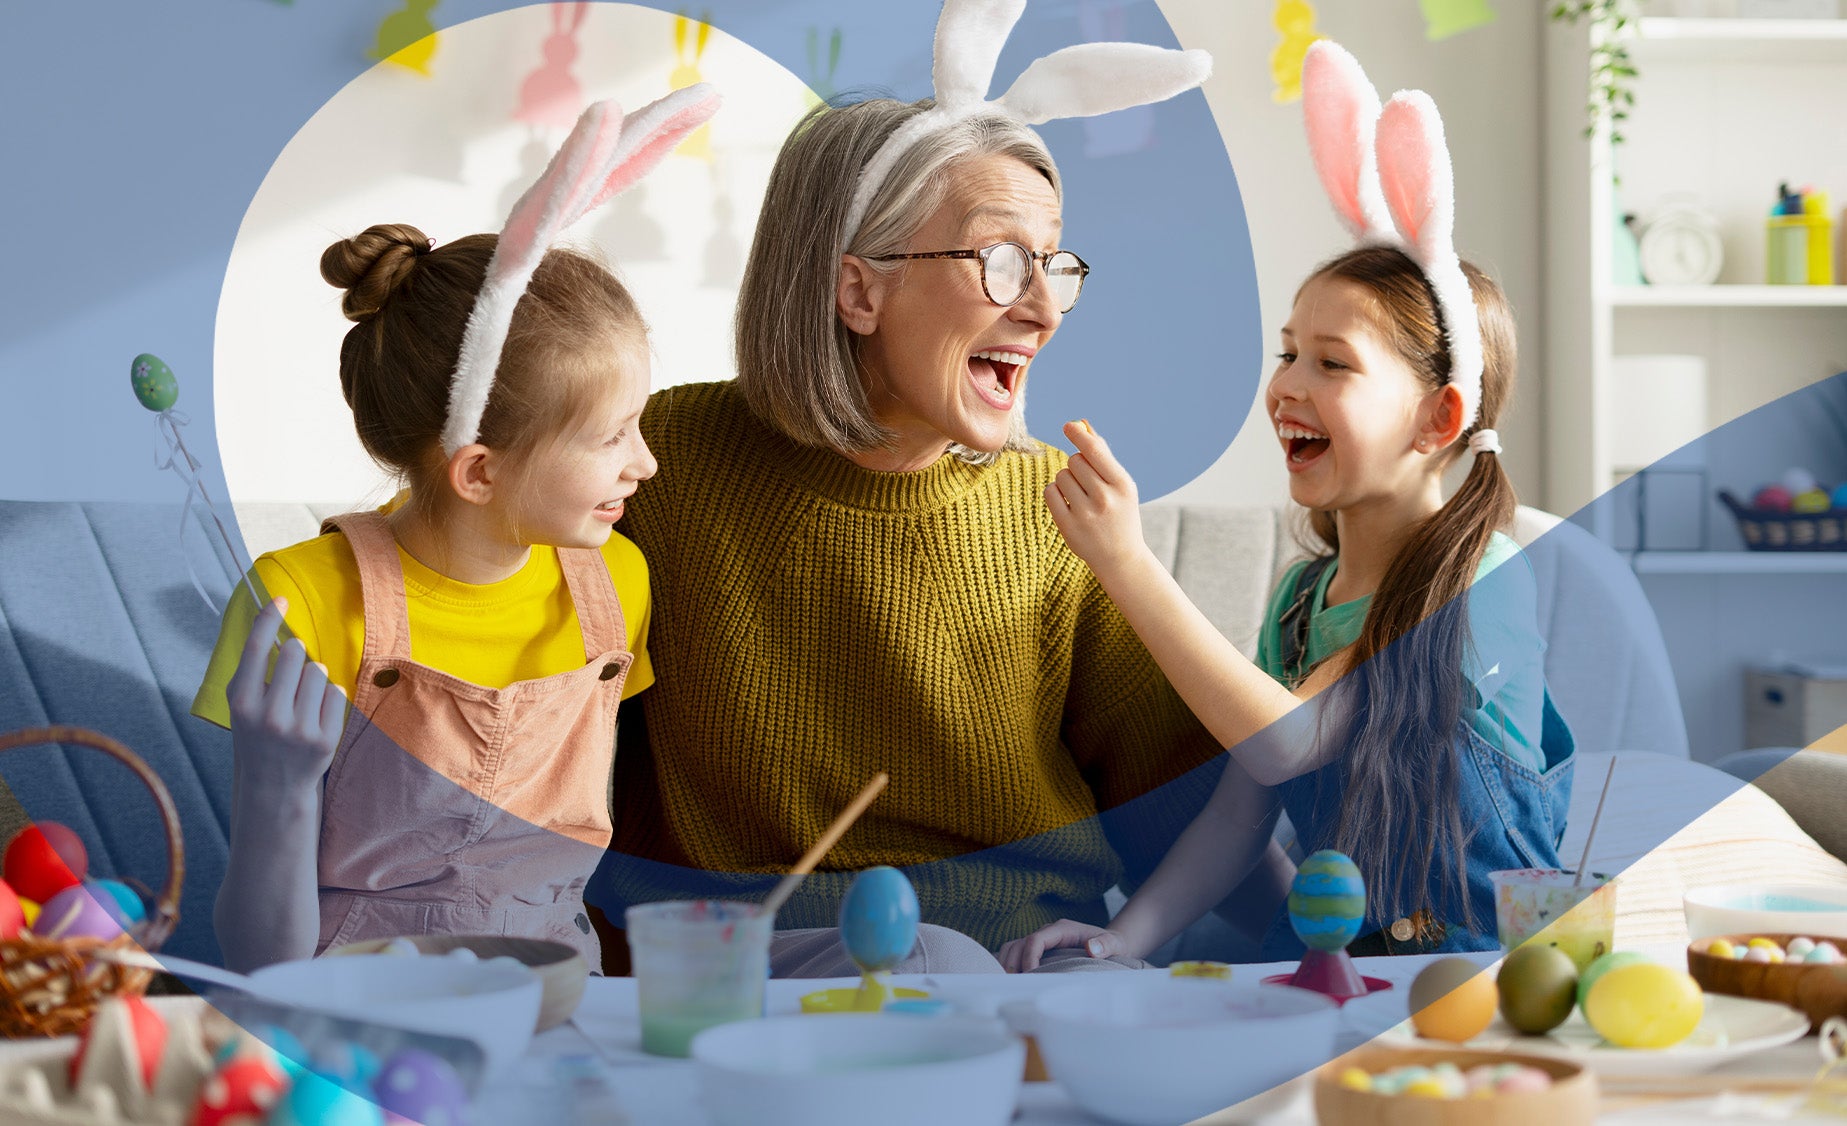
Easter is the perfect time to make family memories, so why not try something new this year? From colouring eggs, classic hunts, and hilarious games to crafty art and tasty treats, we’ve got everything you need to make this Easter your most memorable yet. Happy Easter!
Tags
Share The Happiness


Explore Milkybar® Recipes
Deliciously decadent white chocolate magic awaits you and your family in our Milkybar® recipes!