
RECIPE
Aero Chocolate Orange Cheesecake Recipe
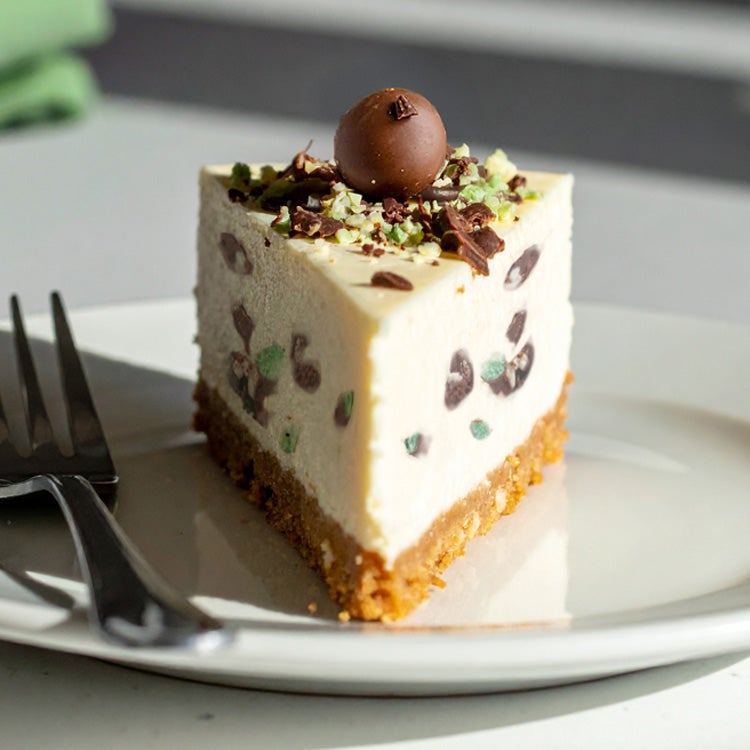
Discover our rich, creamy and simple no-bake chocolate orange cheesecake.
19 December, 2025

For a cheesecake that hits all the high notes of rich, creamy and chocolatey with a citrus zing, say hello to our chocolate orange cheesecake. Featuring bubbly chunks of Aero® Orange and fresh bursts of orange zest it’s a nostalgic showstopper thats great for any celebration. It’s also as easy as one, two, three with no finicky water baths or baking required! Just mix, whisk, fold, set and enjoy. For more fuss-free baking recipes, crafty ideas and tasty inspo, sign up for our newsletter.
How to Boost the Orange Flavour
Besides the chocolatey orange bubbles of Aero®, our chocolate orange cheesecake has orange zest inside and on top. For even more orange flavour, try adding a few drops of orange extract to the cheesecake mixture. For another orange twist, try candied orange peels. Simply peel one orange and slice it into thin sticks. Pop it into a small pot with 25g white sugar and 50g of water. Boil for 5-6 minutes until reduced, glossy and coated. Transfer the candied peels to a rack to cool then top your cheesecake.
Chocolate Orange Cheesecake Variations
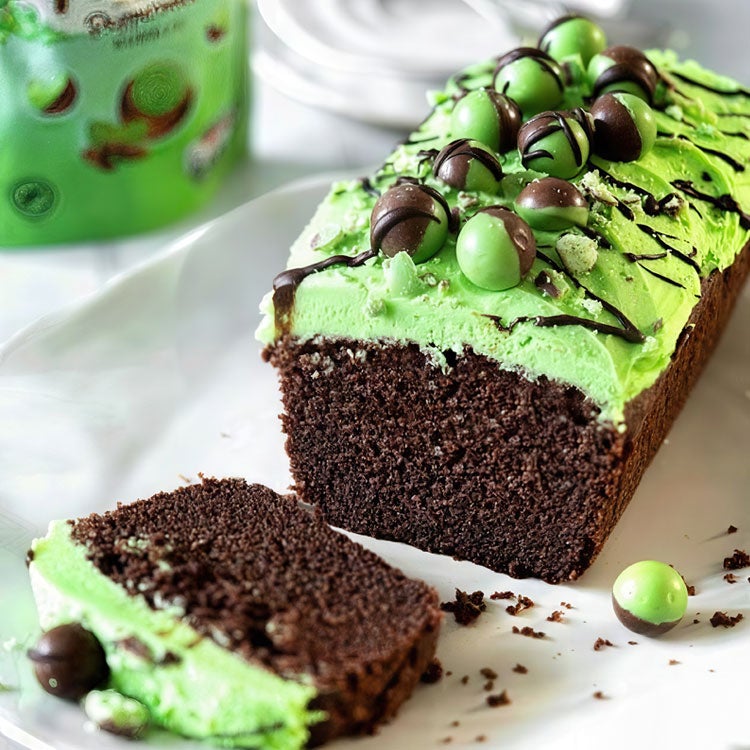
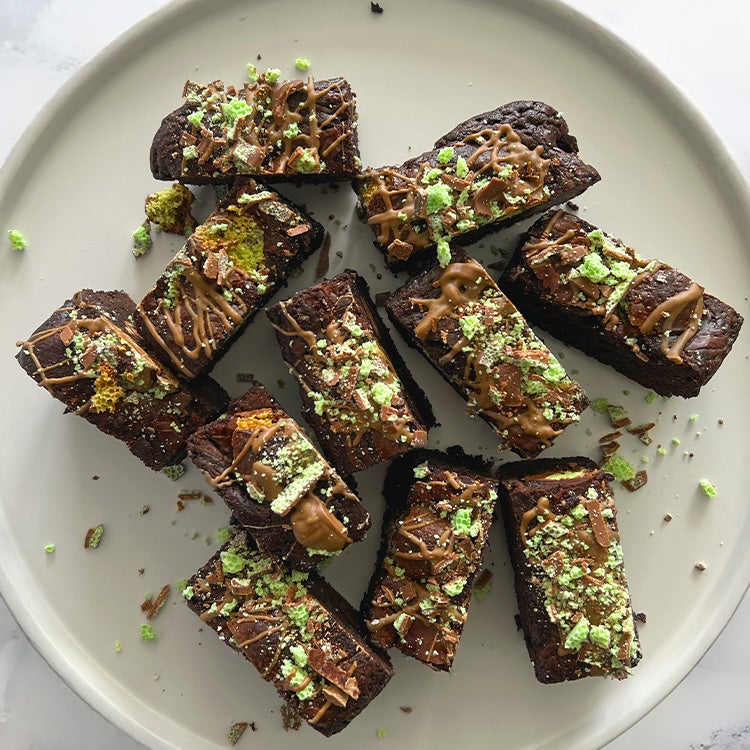
The magic of a no-bake cheesecake is its versatility. Fancy a different biscuit base? Choose your favourite and replace the digestives – oat biscuits give a more farmhouse feel! Want to add another layer of citrus flavour or spice? Add the zest of a mandarin to complement the orange and dust the top with a thin mixed baking spice. For a totally different flavour spin that’s minty fresh, try our Aero® Peppermint Cheesecake.
Decorating Tips
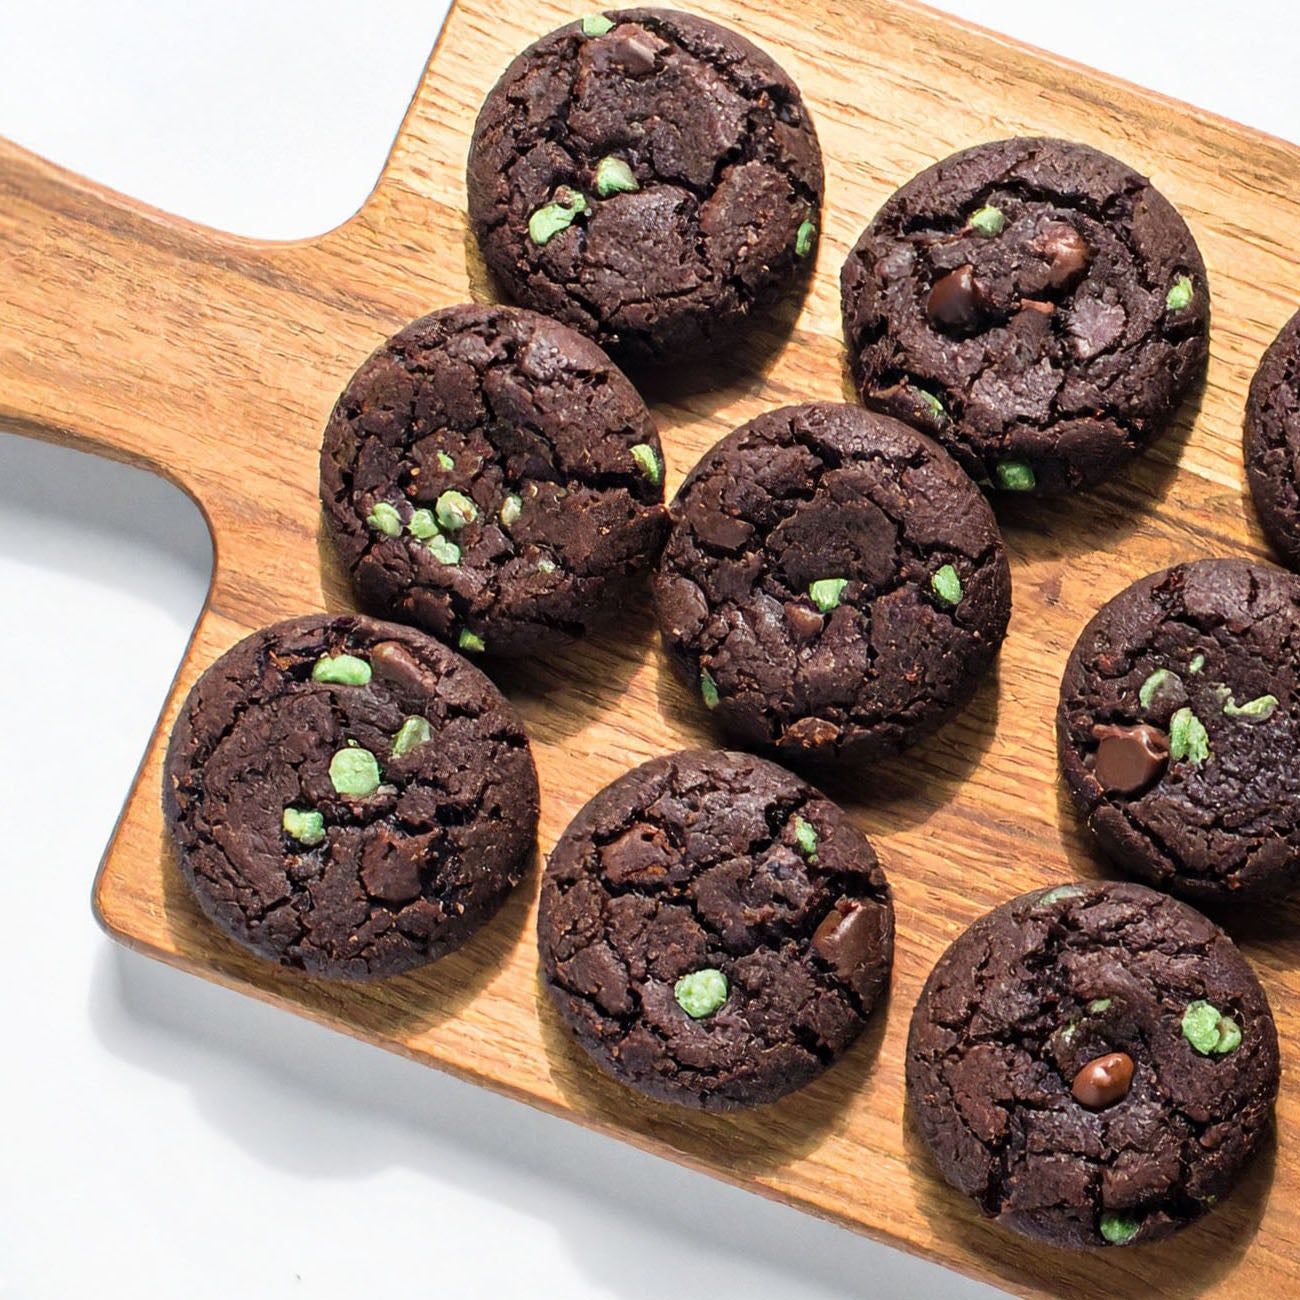
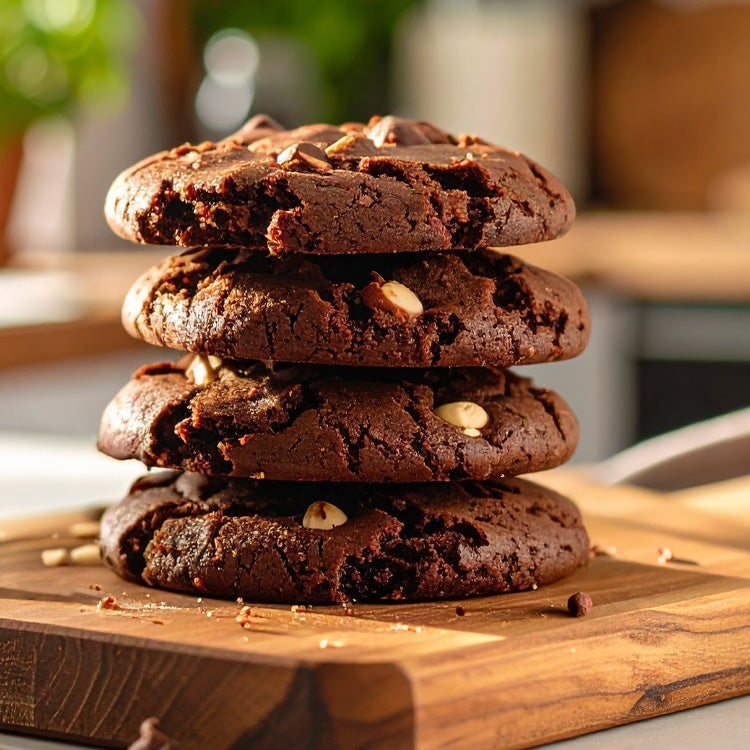
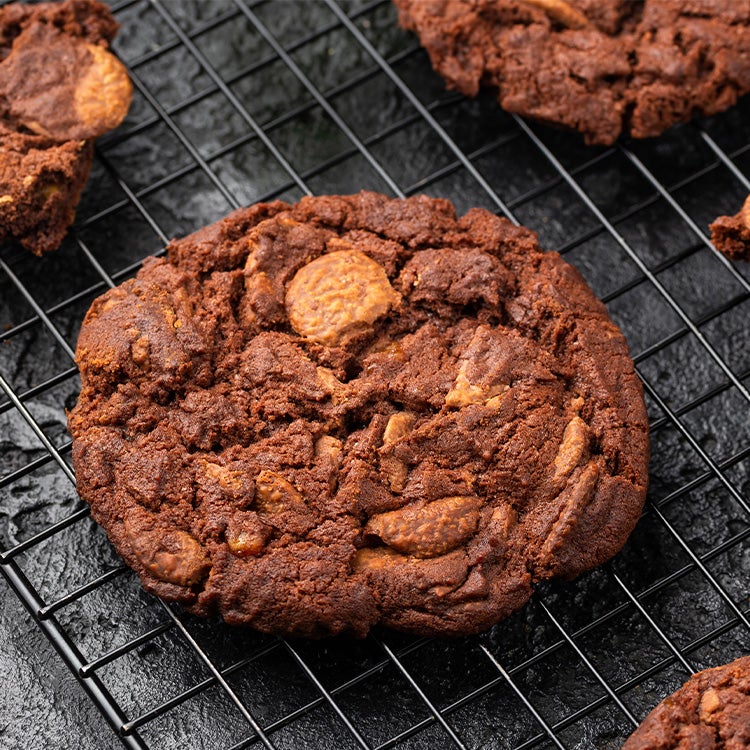
Keep the tasty chocolate orange cheesecake customisations rolling with your style of decoration. We’ve gone for chunky pieces of Aero® Orange inside and on top of the cake, but you could grate it for a superfine chocolate orange dusting. Why not melt the chocolate for the top of the cheesecake and drizzle it on in a crisscross pattern? Fresh orange segments could be cut into small pieces and used to create a stunning border. Or hold the sprinkles and place one chunk of Aero® Orange on the border of each slice. For a quicker but just as tasty chocolate orange treat, try our Aero® Chocolate Orange Cookies.
Storage Instructions
Pop your chocolate orange cheesecake into a container with a lid and store it in the fridge for up to five days. You can also wrap the cheesecake in the tin and freeze it for up to three months. To defrost, simply leave the wrapped tin in the fridge overnight. For a mini cheesecake alternative that can also be made ahead of time, try our Aero® Orange Mini Cheesecakes.
You will need
- 20cm round springform tin
- An electric whisk (optional)
- A palette knife or silicone spatula (both optional)
- Foil or cling film to cover
For the biscuit base
- 200g digestive biscuits
- 2 tbsp light brown soft sugar
- 2 tbsp cocoa powder
- Zest of an orange
- 100g buttery baking spread, melted
For the filling
- 10g powdered gelatine
- 2 tbsp water
- 300ml whipping cream, cold
- 500g low-fat cream cheese, ideally room temperature
- 1 tsp vanilla extract
- 100g icing sugar
- 90g Aero® Orange, chopped
For the decorations
- 50g Aero® Orange, finely chopped
- Zest of an orange

Aero Orange Chocolate Sharing Bar 90g
Each slice (1/16) typically contains:
of an adult’s Reference Intake (RI)*
Energy per 100g: 1396kJ/335kcal
Method
For the cake
- Blitz the digestive biscuits into fine crumbs using a food processor (or put them in a Ziplock bag and bash them with a rolling pin).
- Mix the crumbs with the cocoa powder, orange zest and melted baking spread until well combined.
- Press the mixture firmly into the base of a 20cm springform tin. Use the base of a thick glass to press it down and smooth it out.
- Pop it into the fridge to chill while you whip up the filling.
For the chocolate buttercream
- Pour the water into a small microwave-safe bowl. Sprinkle in the gelatine and mix to combine. Let it sit for 5 minutes to activate. It will solidify in the bowl so don’t be alarmed!
- In a large bowl, whip the whipping cream until it forms stiff peaks, then set aside.
- Heat the gelatine mixture in the microwave for 10-15 seconds until it is just melted but not hot.
- In another large bowl, add the cream cheese, vanilla and gelatine mixture. Sift in the icing sugar and whisk gently until smooth.
- Gently fold the whipped cream into the cream cheese mixture using a silicone spatula or the edge of a metal dessert spoon until combined.
- Slowly fold in the chopped Aero® Orange pieces in the same way to keep the bubbles in both the cream and chocolate!
- Spoon the filling over the chilled biscuit base and smooth the top with a palette knife or spatula. Cover with foil or cling film and place it into the fridge for at least 6 hours to set – ideally overnight.
- Once set, remove the cheesecake from the tin – you may need to run a palette knife around the edge to loosen it from the tin.
- Sprinkle with finely chopped Aero® Orange and finish with orange zest. Slice into 16 pieces and serve!
Top Tips
While your cream needs to be cold, your cream cheese should be at room temperature, so it is soft enough to whisk until silky smooth. If you’re using an electric mixer, mix on a low speed. If you overwhip cream cheese, it can split into fat and curd (‘curdle’!) and become a sticky mess! The trick to a great no-bake cheesecake is all in the mixing. Be gentle when you fold the cream cheese mixture into the cream and chocolate.
Tags
Share The Happiness


Explore Aero® Recipes
Add smooth chocolatey flavour and bubbly fun to your kitchen with our collection of Aero® recipes.