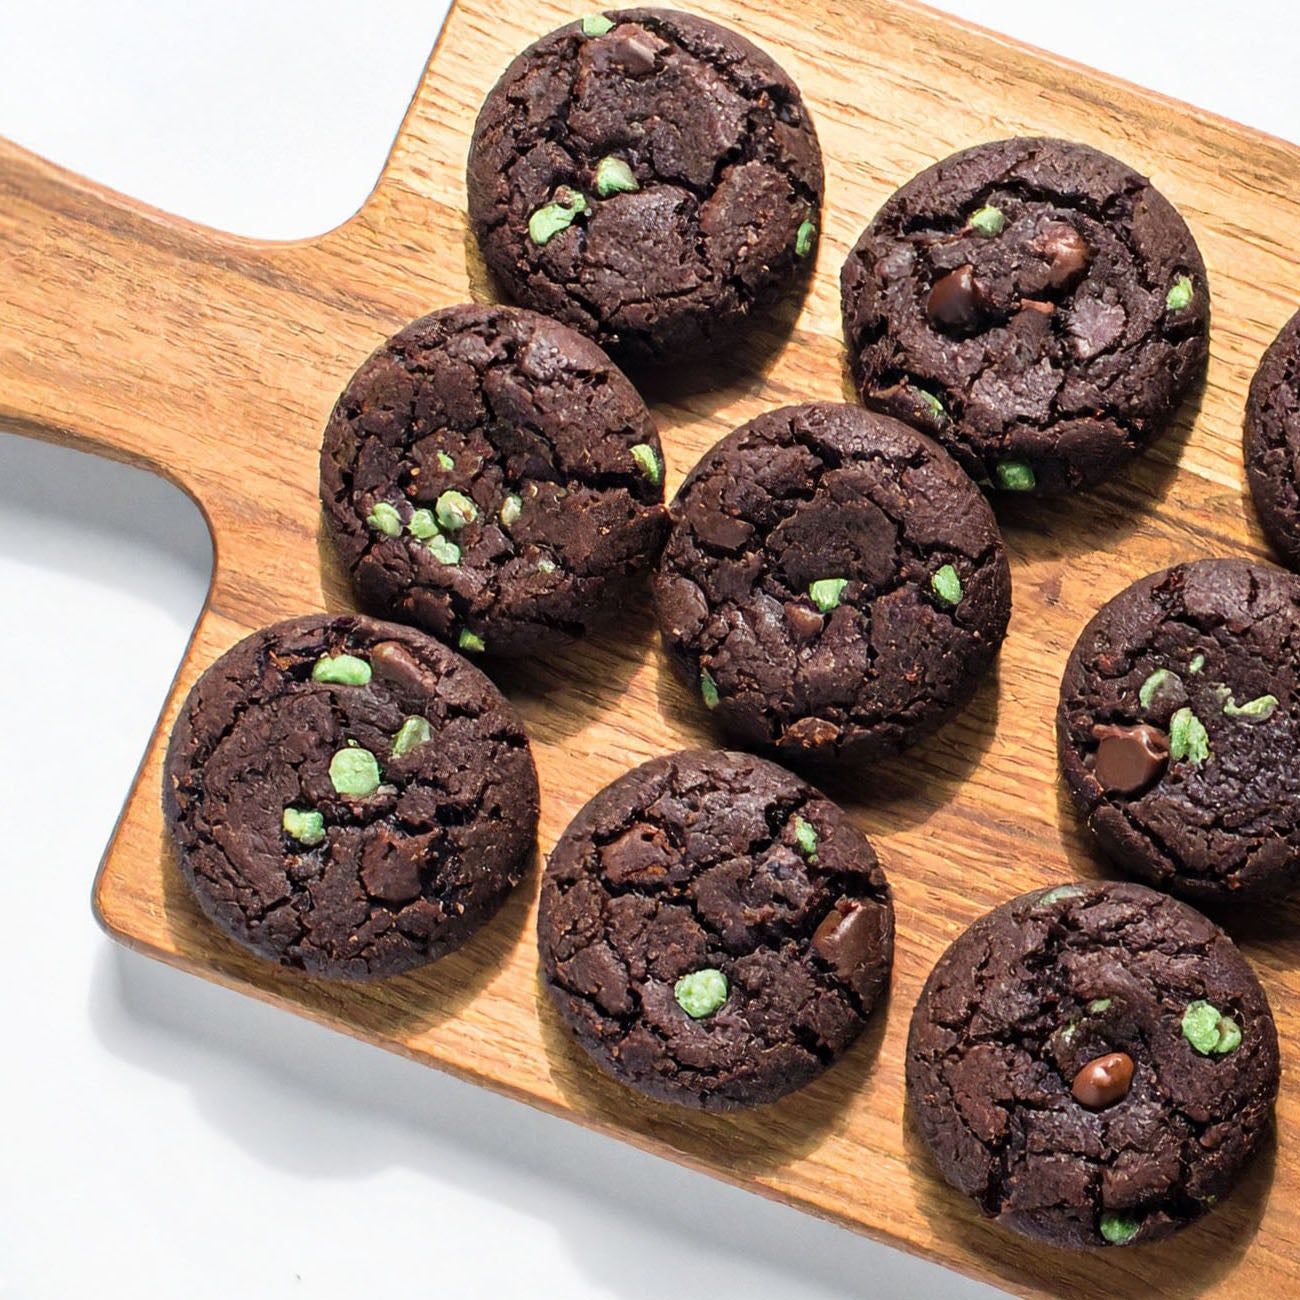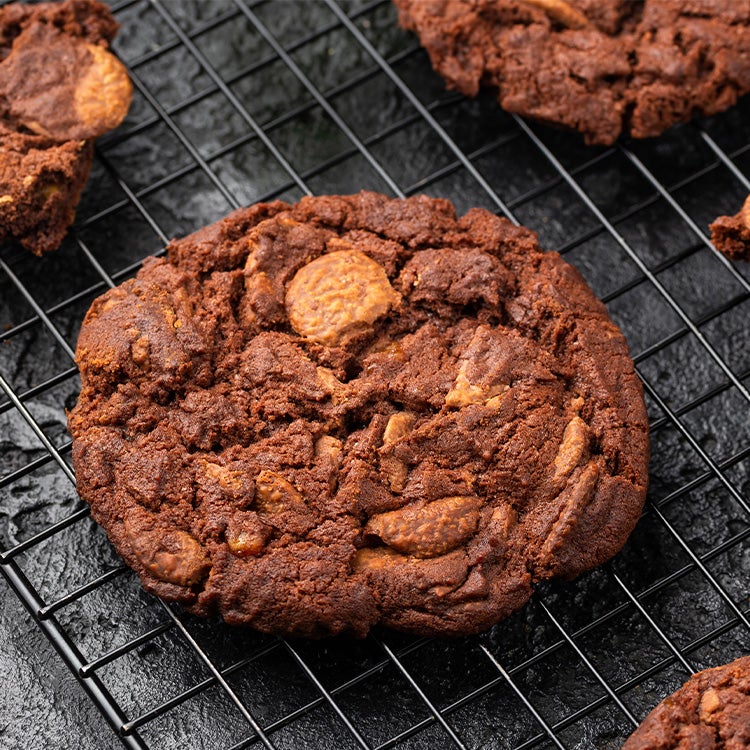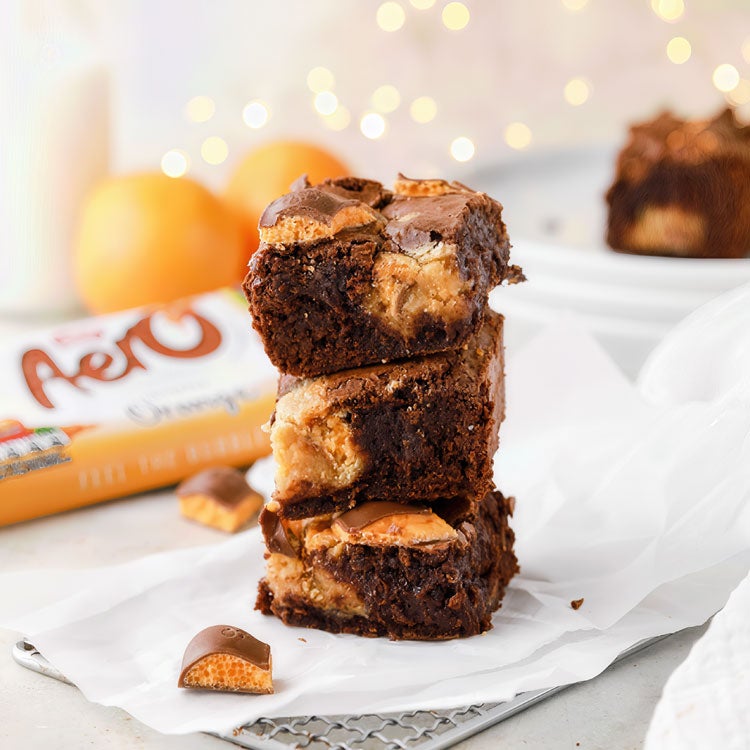

Easter just got even more chocolately with our chocolate Easter brownies! With five flavours to choose from all featuring a different flavour of Mini Eggs, you’ll have five great reasons to bake a storm this spring. Share them at your Easter feast or mix and match flavours to create thoughtful Easter gifts. With flavours from Milkybar®, After Eight®, Aero®, Smarties® and KitKat®, the only question left to answer is, which flavour will you be baking first?
Chocolate Easter Brownies Variations
We’ve got an Easter brownie flavour for every taste and occasion!
Milkybar® Brownies
- Use two bags of Milkybar® Mini Eggs (80g each bag) for your brownies.
- Fold one bag of Milkybar® Mini Eggs into your brownie mixture.
- Finish with a drizzle of melted Milkybar® and place 16 Mini Eggs on top of the brownies.
After Eight® Brownies
- Press 16 After Eight® Mini Eggs (2 x 81g Sharing Bags) into your brownie mixture before baking. Space the Mini Eggs out to form a grid of 16 slices – one Mini Egg per slice.
- Finish with a sprinkling of finely chopped fresh mint once cooled for an extra touch of class.
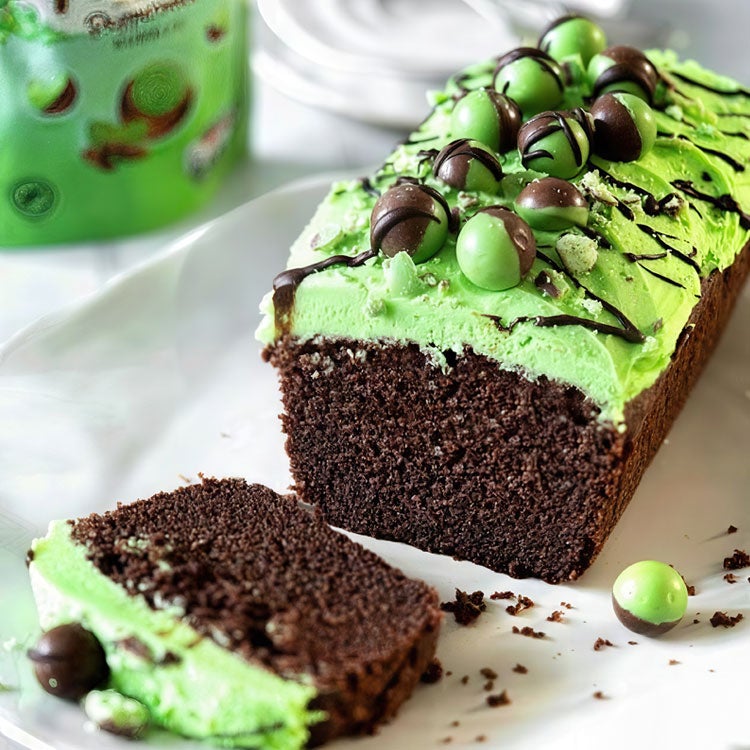
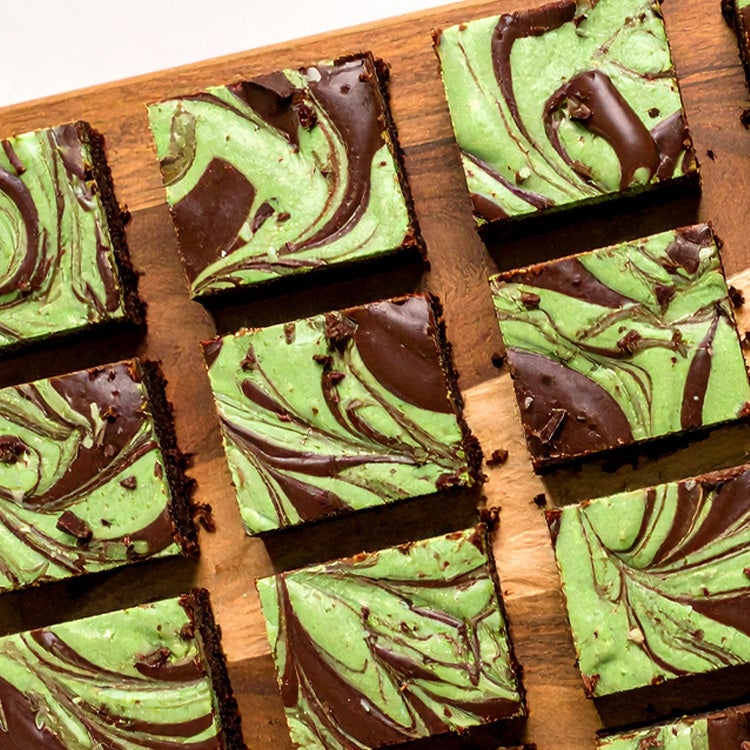
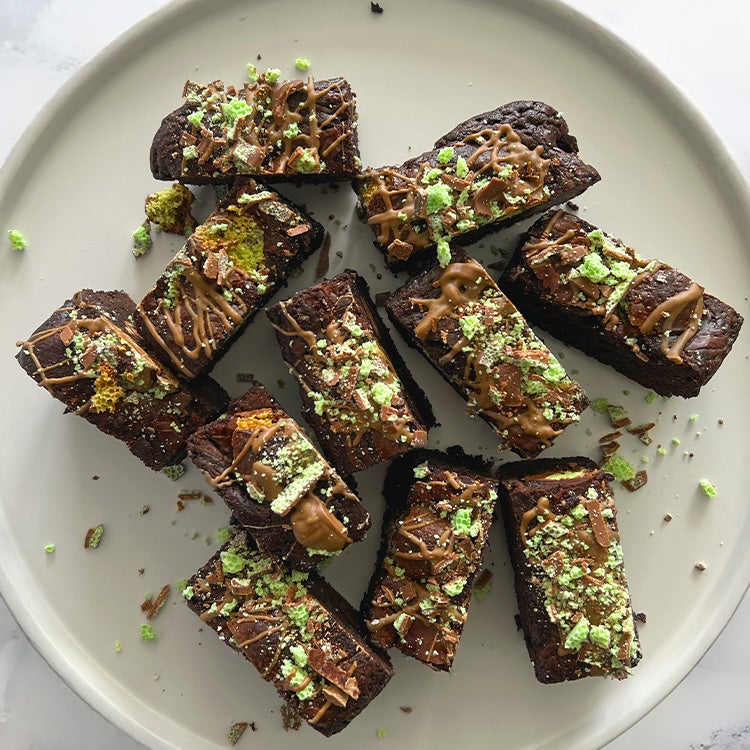
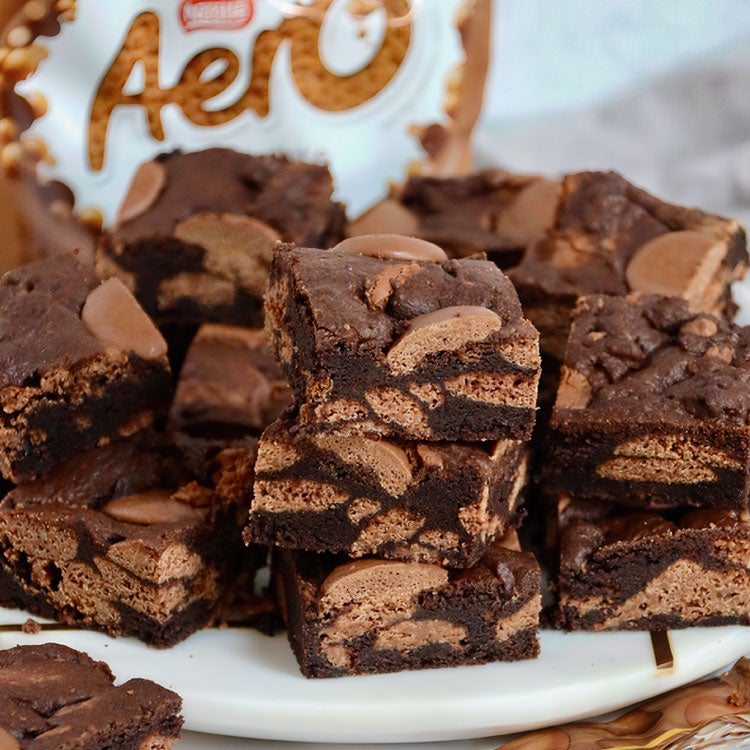
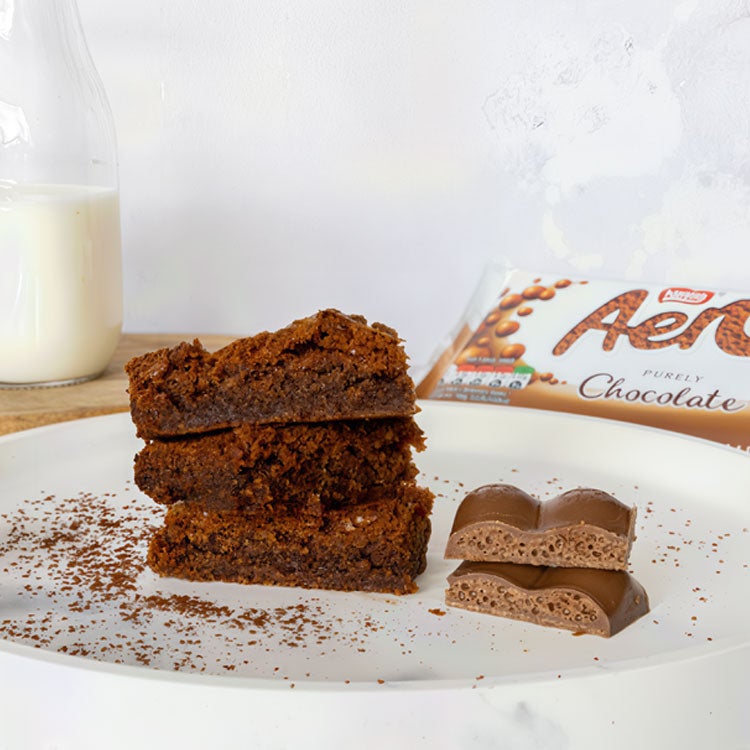
Aero® Peppermint Brownies
- Fold two Aero® Peppermint Mini Eggs Sharing Bags (70g each bag) into your brownie mixture.
- Reserve two Mini Eggs and top the baked brownie with a bubbly crumble of chopped Aero® Peppermint.
Smarties® Mini Eggs Brownies
- Use two Smarties® Mini Eggs Sharing Bags (80g each bag) for your brownies.
- Chop one bag of Mini Eggs and fold them into the brownie mixture, then tip it into the baking tin. Top the brownie with the second bag just before baking. For a kid's portion, cut the brownie into 25 pieces.
- For more festive bakes for kids, explore our Easter Baking with Kids article.
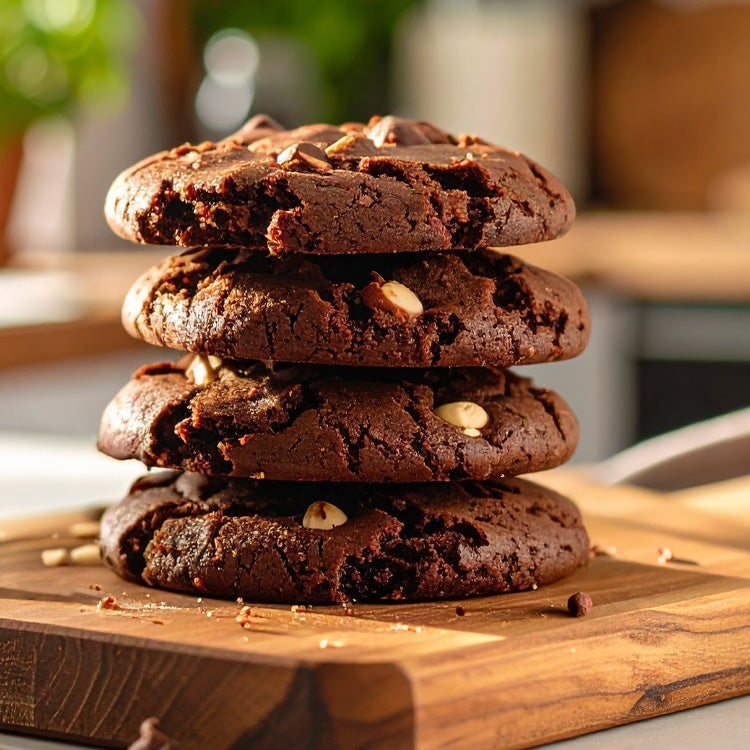
KitKat® Brownies
- Press 16 KitKat® Mini Eggs (2 x 81g Sharing Bags) into your brownie mixture before baking. Space the Mini Eggs out to form a grid of 16 slices – one Mini Egg per slice.
Serving Suggestion
Serve your Easter brownies with a glass of chilled milk – or a chai latté. You could also turn it into a pudding on cold days by putting it in a bowl, pouring an espresso over the top and topping with a scoop of vanilla ice cream. Looking for a bigger Easter bake for your celebration day? Try our easy Easter Bunny Cake.
Storage Instructions
Store your chocolate Easter brownies in an airtight container and they’ll stay fresh for up to five days. Want to save some for later? No problem. Just pop the container into the freezer and freeze for up to three months. When you're ready, defrost in the fridge overnight and reheat briefly in the microwave before serving.
You will need
- 20cm square brownie tin
- Baking paper
- Palette knife (optional)
For the cupcakes
- 180g buttery baking spread
- 200g light soft brown sugar
- 3 large eggs, ideally at room temperature
- 60g cocoa powder
- 2 tsp vanilla extract
- 120g plain flour
- 1 tsp baking powder
- 100g dark chocolate, chopped
- Your chosen Nestlé Mini Eggs (see quantities above)
Each mini egg brownie typically contains:
of an adult’s Reference Intake (RI)*
Energy per 100g: 1999kJ/479kcal
Method
- Pop your Mini Eggs into the freezer an hour before baking.
- Preheat your oven to 180°C/160°C fan/gas 4. Line a 20cm square tin with baking paper, letting the edges overhang to make the brownies easy to remove.
- Add the buttery baking spread to a heatproof bowl and melt in the microwave, first for 30 seconds and then in 15-second bursts, stirring between each burst and taking care to wear oven gloves if necessary as the bowl heats up. Stir until smooth, add the sugar then mix to combine. Heat for another minute in 30 second bursts stirring between each burst. When the mixture is heated through, remove it from the microwave, whisk to combine and set aside to cool a little.
- Meanwhile, in a separate bowl, whisk the eggs, cocoa powder and vanilla until combined. Slowly add the warm buttery sugar mixture and whisk until glossy.
- Sift in the flour and baking powder then add the chopped chocolate and the Mini Eggs (see above for quantities and methods). Fold with a silicone spatula – or the edge of a metal dessertspoon – until no dry flour remains, being careful not to overmix. This mixture will resemble thick but pourable cake mixture.
- Pour the mixture into the tin, then spread evenly using either a palette knife or the back of the spoon.
- Bake for 30-35 minutes. A cocktail stick inserted in the centre should come out clean, or with a few moist crumbs, rather than being gooey.
- Let the brownies cool in the tin before slicing them into squares.
Top Tips
For the best gooey brownie results, don’t overbake the brownies! As soon as a toothpick comes out mostly clean with a few moist crumbs, they are done. As they cool, the brownies will set. For maximum fudge factor, store the whole tray in the fridge for a few hours. Use a big chef’s knife to cut the brownies and clean the knife after each cut for perfect Instagram or gifting slices.
Need help planning your Easter hunt? Read our How to Plan an Easter Egg Hunt article.
FAQs
Yes! Brownies can be made 3-5 days in advance and stored in the fridge. The cooler temperature gives them a fudgy texture.
Simply substitute the plain flour for a gluten-free alternative.
Now you’re getting festive! Yes, simply mix and match your favourite Mini Egg flavours.
Tags
Share The Happiness


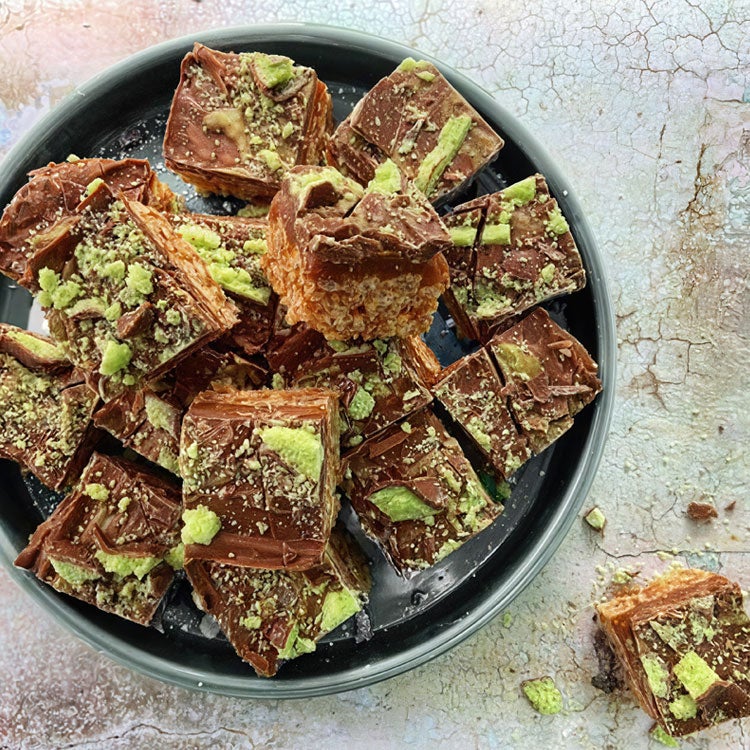
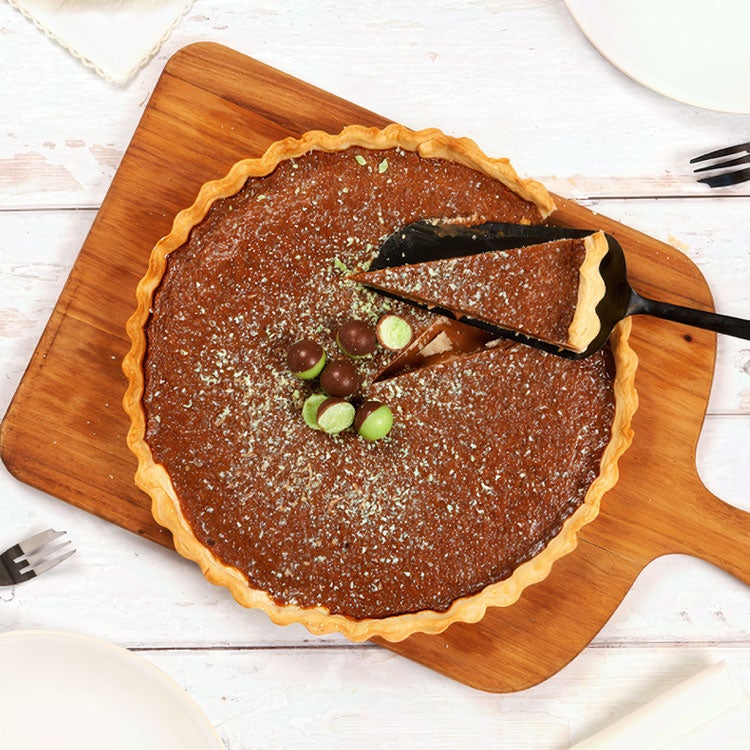
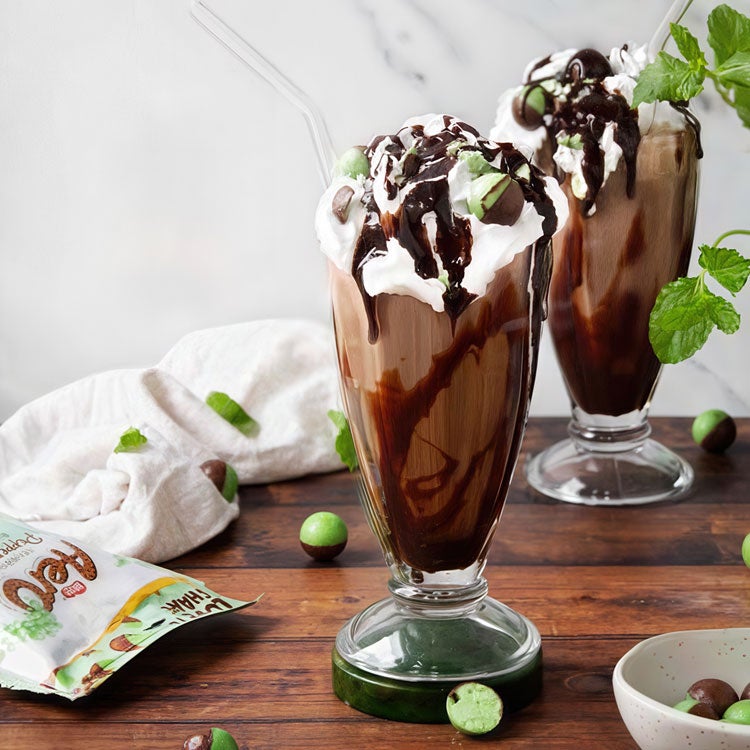
Explore Aero® Recipes
Add smooth chocolatey flavour and bubbly fun to your kitchen with our collection of Aero® recipes.