
In this article
Tips for Personalising Your Chocolate Bouquet
When to Gift a Chocolate Bouquet
More Sweet Treats Gift Inspiration
If you’ve ever wondered how to make a chocolate bouquet, then today is your lucky day! Our easy chocolate bouquet guide has all the tips and tricks you need to create something deliciously special and great to share. All your favourite Nestlé treats are invited to the party and it’s a fun way to treat someone special. From Valentine's, Mother’s and Father’s Days to birthdays and Christmas celebrations, a chocolate bouquet makes any occasion sweeter.
We recommend keeping this craft as a grown-up activity, to avoid any chance of children injuring themselves with the wooden skewers. Remember to always check ingredients and allergen information on each chocolate, particularly if the bouquet is a gift!
What You’ll Need
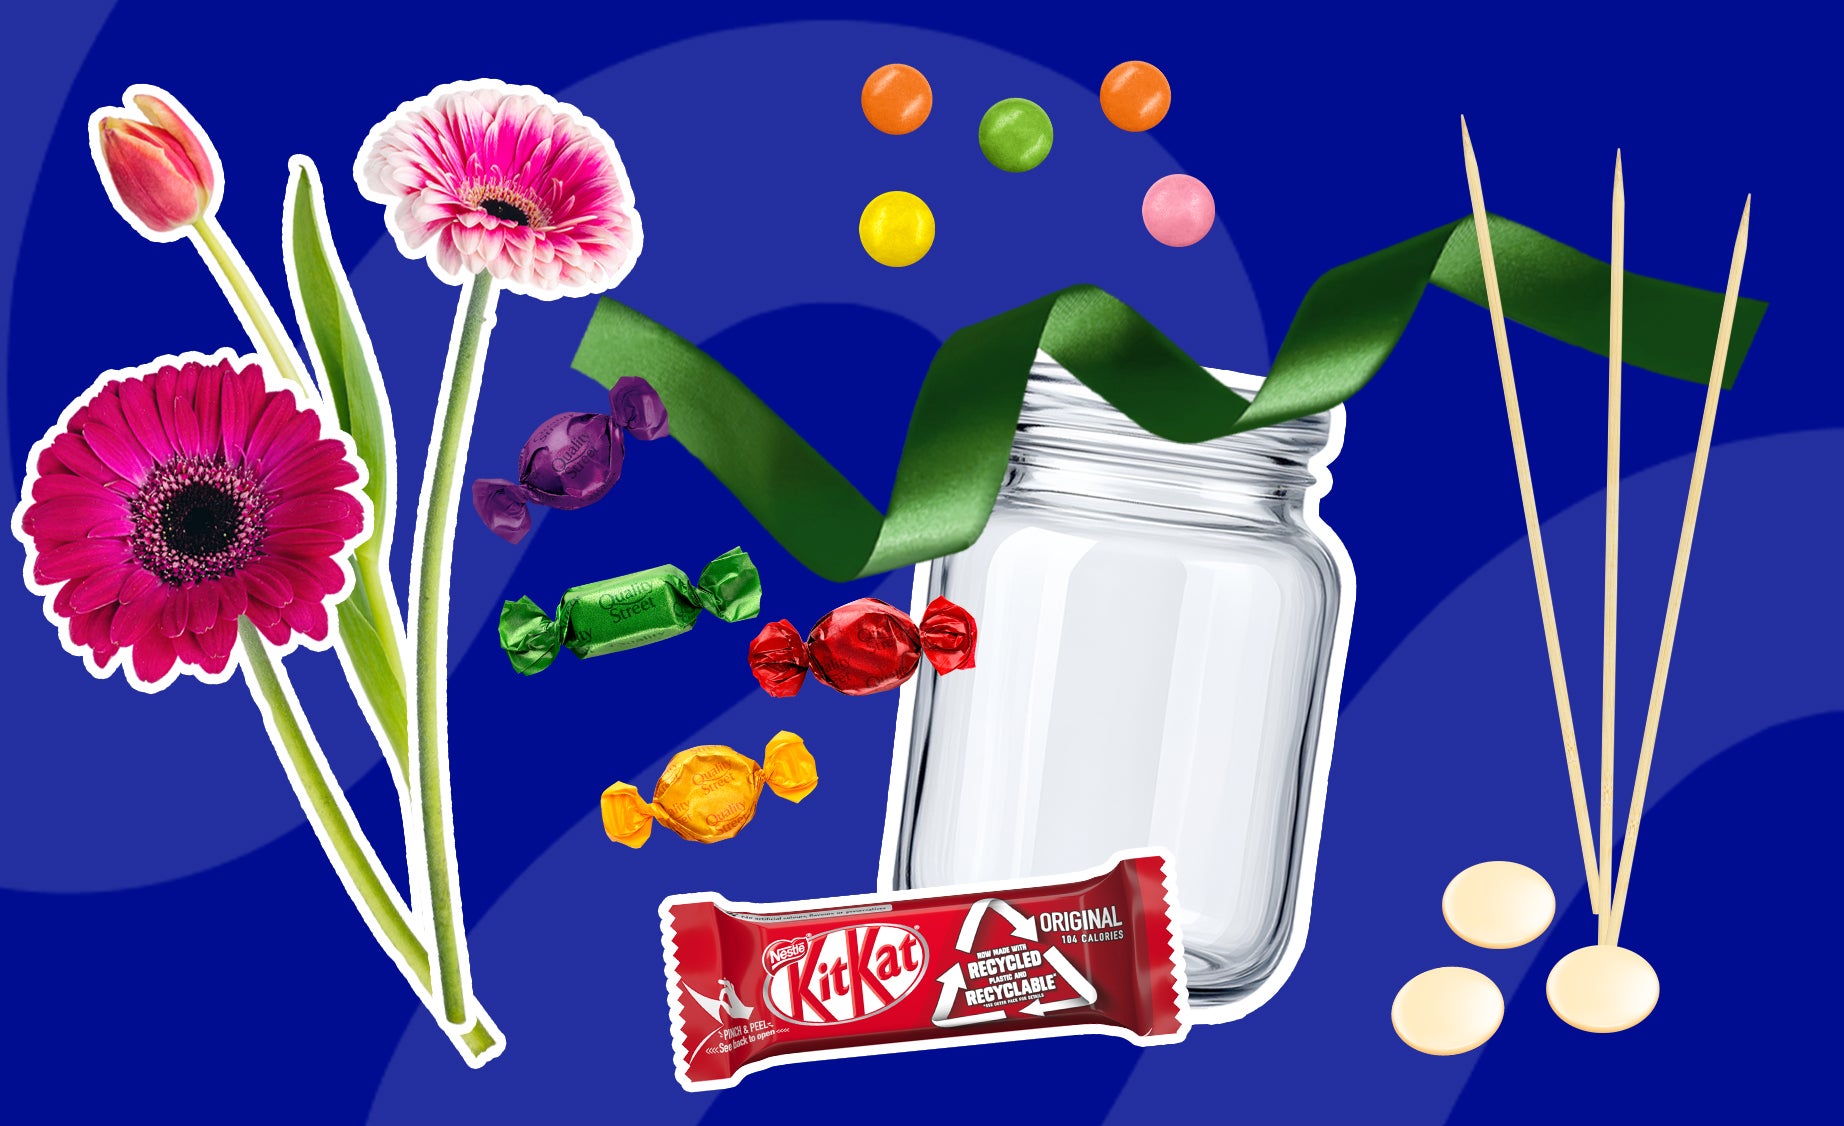
- A tasty selection of chocolates. Think Aero® Chocolate, Peppermint or Orange bars, KitKat® 4 Finger or KitKat® Chunky bars, smooth Milkybar® Buttons or sharing bars, Smarties® tubes or sharing bags, Yorkie® Original or Raisin & Biscuit, Rolo®, Toffee Crisp®, Lion® bars, Walnut Whip® and sharing bags of Quality Street®.
- Long wooden skewers
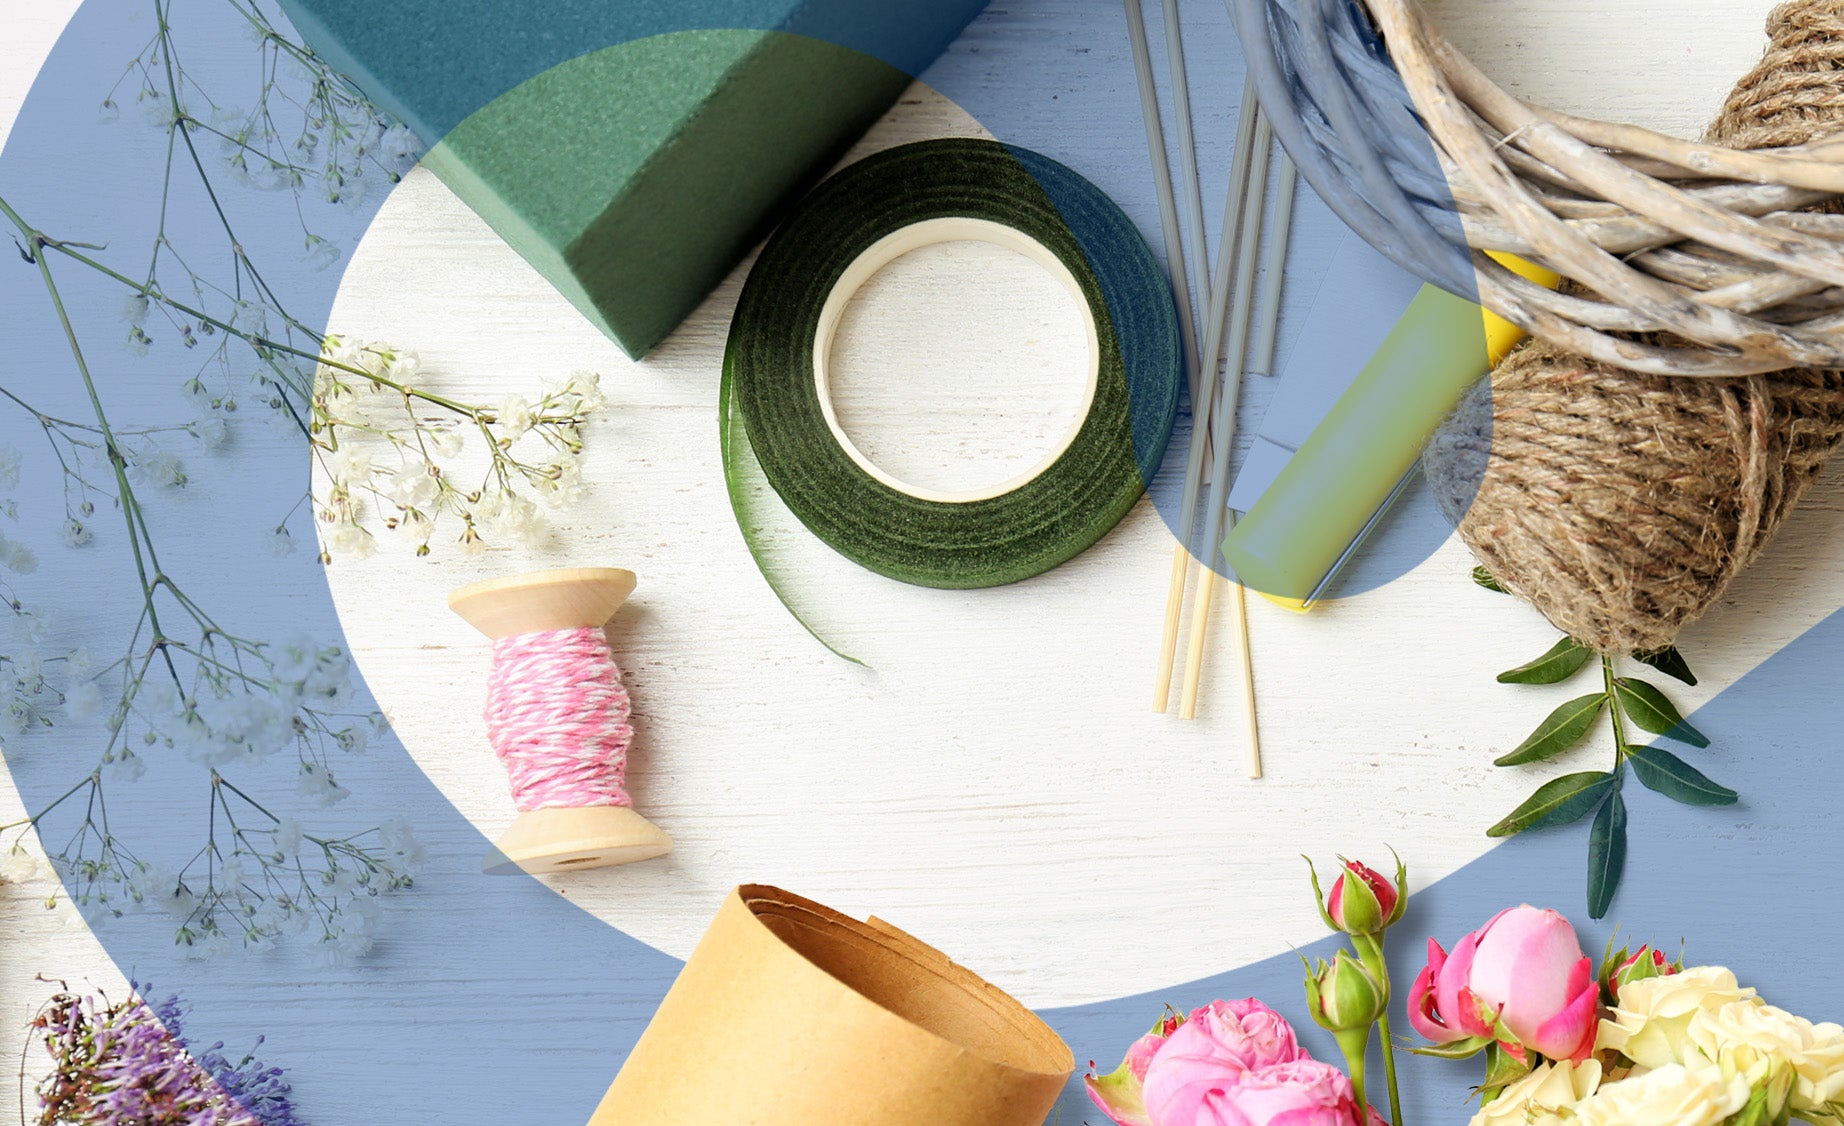
- Clear compostable cellophane (certified to EN13432 standard), craft paper, or wrapping paper (all available online).
- Ribbons, twine or anything colourful to tie and secure the bouquet.
- Cello tape or double-sided sticky tape.
- A sturdy base: a large reusable mason jar or recycled box.
- Extra pizzazz: real flowers, small faux flowers, paper ornaments, mini balloons, handwritten notes, a voucher or a cute key ring.
Looking for something with more chew and less chocolate? Explore our Ultimate Guide to Crafting a Sweet Hamper with Rowntree’s®.
Step-by-Step Tutorial
Roses are red, violets are blue, our chocolate bouquet is easy to do!
Step 1 – Choose Your Chocolates
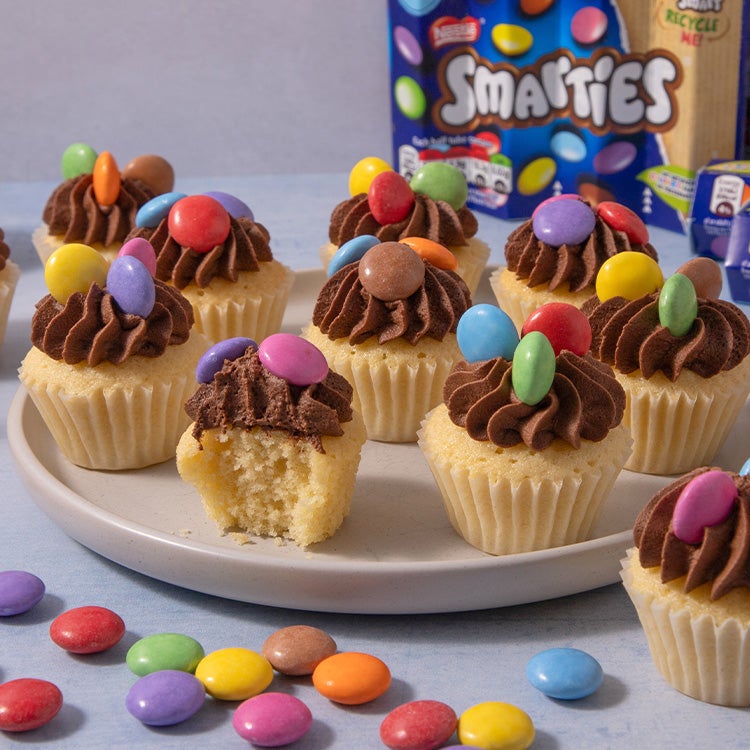
The secret to a great chocolate bouquet is to combine different shapes and sizes to create visual excitement and interest. For flavours and textures, go for a mix of creamy Milkybar®, crunchy KitKat®, colourful Smarties®, chewy Rolo®, creamy Yorkie®, chunky Lion®, crispy Toffee Crisp® and vibrant Quality Street®.
Step 2 – Prepare the Stems
Using cello tape or double-sided tape, carefully stick each wooden skewer to the back of the chocolates, ensuring that the chocolates remain safely wrapped and do not come into contact with the tape. Presentation matters, so keep it tidy! Don’t damage the packaging and make sure the skewer is at least halfway up the back of the chocolate for structural support.
For extra floral style points, you can create a sparkly petal-like base for each of the chocolates. Simply cut a square of baking foil or craft paper and skewer onto the stick through the centre. Run it up to the base of the chocolate then scrunch it up around the base of the chocolate to look as though the chocolate is coming out of a flower. Secure it to the stick with a piece of tape and voilà!
Step 3 – Arrange the Bouquet
For a solid base, skip the single-use floral foam and go green. Bind your bouquet skewer stems with twine or string and place the bouquet into a large mason jar or vase. Scrunched-up tissue paper can be added to the jar to create more stability and structure. You could also use an upcycled box with a smaller box inside it that’s poked with holes for the skewers. To arrange, insert skewers layer by layer, starting with the tall chocolates at the back, mid-size pieces in the middle, and smaller items at the front – either as a 360° formation or simply designed to be viewed face-on – either way looks effective. Keep the overall balance in mind as you build and distribute the colours evenly.
Step 4 – Wrap and Decorate
Once your chocolatey blooms are in place, wrap the jar or box with your paper of choice. Decorate with your extra pizzazz then finish with twine, ribbons or bows. Add a small card with a heartfelt message, then stand back and admire your chocolate bouquet.
Tips for Personalising Your Chocolate Bouquet
- Seasonal hues: match your colours to the occasion for maximum impact. Think reds and pinks for Valentine’s Day, gold and silver for special occasions or year-end sparkle, or match the colourful tones of the birthday party.
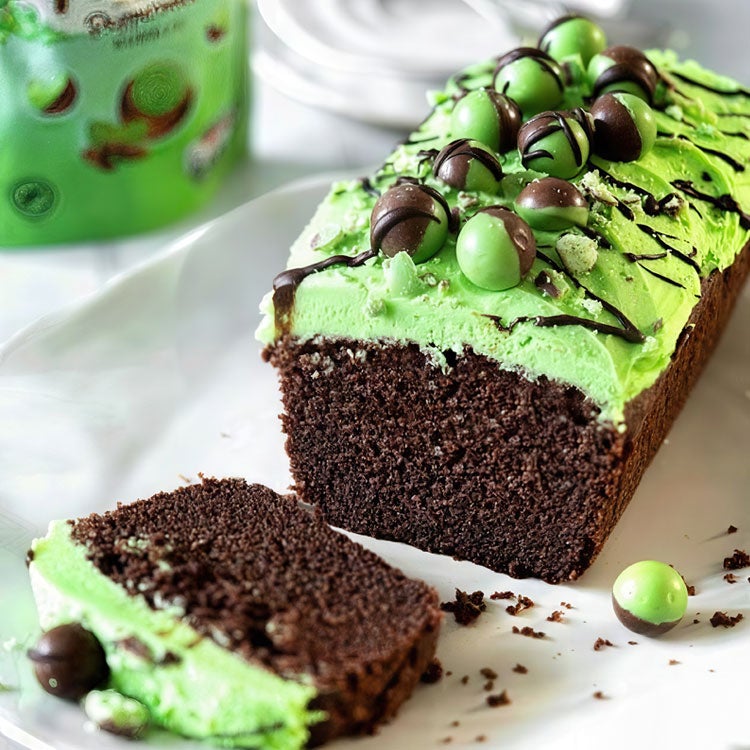
- Flavour combos: keep it classic with a spread of all your favourite Nestlé chocolates or pick a theme like Choc-Mint Madness featuring Aero® Peppermint Bubbles and bars, and After Eight®. Or go KitKat® crazy featuring Classic, Orange, Peanut Butter, Hazelnut, Salted Caramel, Dark or Cookies and Cream.
- Extra goodies: a few small surprises go a long way! Tuck in their favourite flower, mini balloons, a spa-day gift card, a mini bottle of bubbles or stick cheeky chocolate jokes on the bars.

When to Gift a Chocolate Bouquet
A sweet treat for every occasion.
- Birthdays: bring the fun and flavour!
- Valentine’s Day and anniversaries: keep it sweet and romantic.
- Mother’s Day or Father’s Day: pick their favourites to enjoy!
- Teacher appreciation gifts: ask each student in the class to contribute one chocolate.
- Christmas celebrations and festive centrepieces: Quality Street® is calling your name…
More Sweet Treats Gift Inspiration
And just like that, you now know how to make a chocolate bouquet! For more crafty treats, try your hand at our Rowntree’s® Sweet Cones. If you’re in the mood for a bake that’s part craft and all delicious, try our Smarties® Rainbow Cake. For more tasty inspo and clever crafts, sign up to our monthly newsletter.
, sign up for our monthly newsletter.
Tags
Share The Happiness


Explore Our Nestlé Confectionery Recipes
Looking for something fun to do with the kids? Explore our recipes and create something tasty today.